Describe any image, then let a computer create it for you. What sounded futuristic only a few years ago has become reality with advances in neural networks and latent diffusion models (LDM). DALL·E by OpenAI has made a splash through the amazing generative art and realistic images that people create with it.
OpenAI now allows access to DALL·E through their API, which means that you can incorporate its functionality into your Python applications.
In this tutorial, you’ll:
- Get started using the OpenAI Python library
- Explore API calls related to image generation
- Create images from text prompts
- Create variations of your generated image
- Convert Base64 JSON responses to PNG image files
You’ll need some experience with Python, JSON, and file operations to breeze through this tutorial. You can also study up on these topics while you go along, as you’ll find relevant links throughout the text.
If you haven’t played with the web user interface (UI) of DALL·E before, then try it out before coming back to learn how to use it programmatically with Python.
Source Code: Click here to download the free source code that you’ll use to generate stunning images with DALL·E 2 and the OpenAI API.
Complete the Setup Requirements
If you’ve seen what DALL·E can do and you’re eager to make its functionality part of your Python applications, then you’re in the right spot! In this first section, you’ll quickly walk through what you need to do to get started using DALL·E’s image creation capabilities in your own code.
Install the OpenAI Python Library
Confirm that you’re running Python version 3.7.1 or higher, create and activate a virtual environment, and install the OpenAI Python library:
The openai package gives you access to the full OpenAI API. In this tutorial, you’ll focus on the Image class, which you can use to interact with DALL·E to create and edit images from text prompts.
Get Your OpenAI API Key
You need an API key to make successful API calls. Sign up for the OpenAI API and create a new API key by clicking on the dropdown menu on your profile and selecting View API keys:
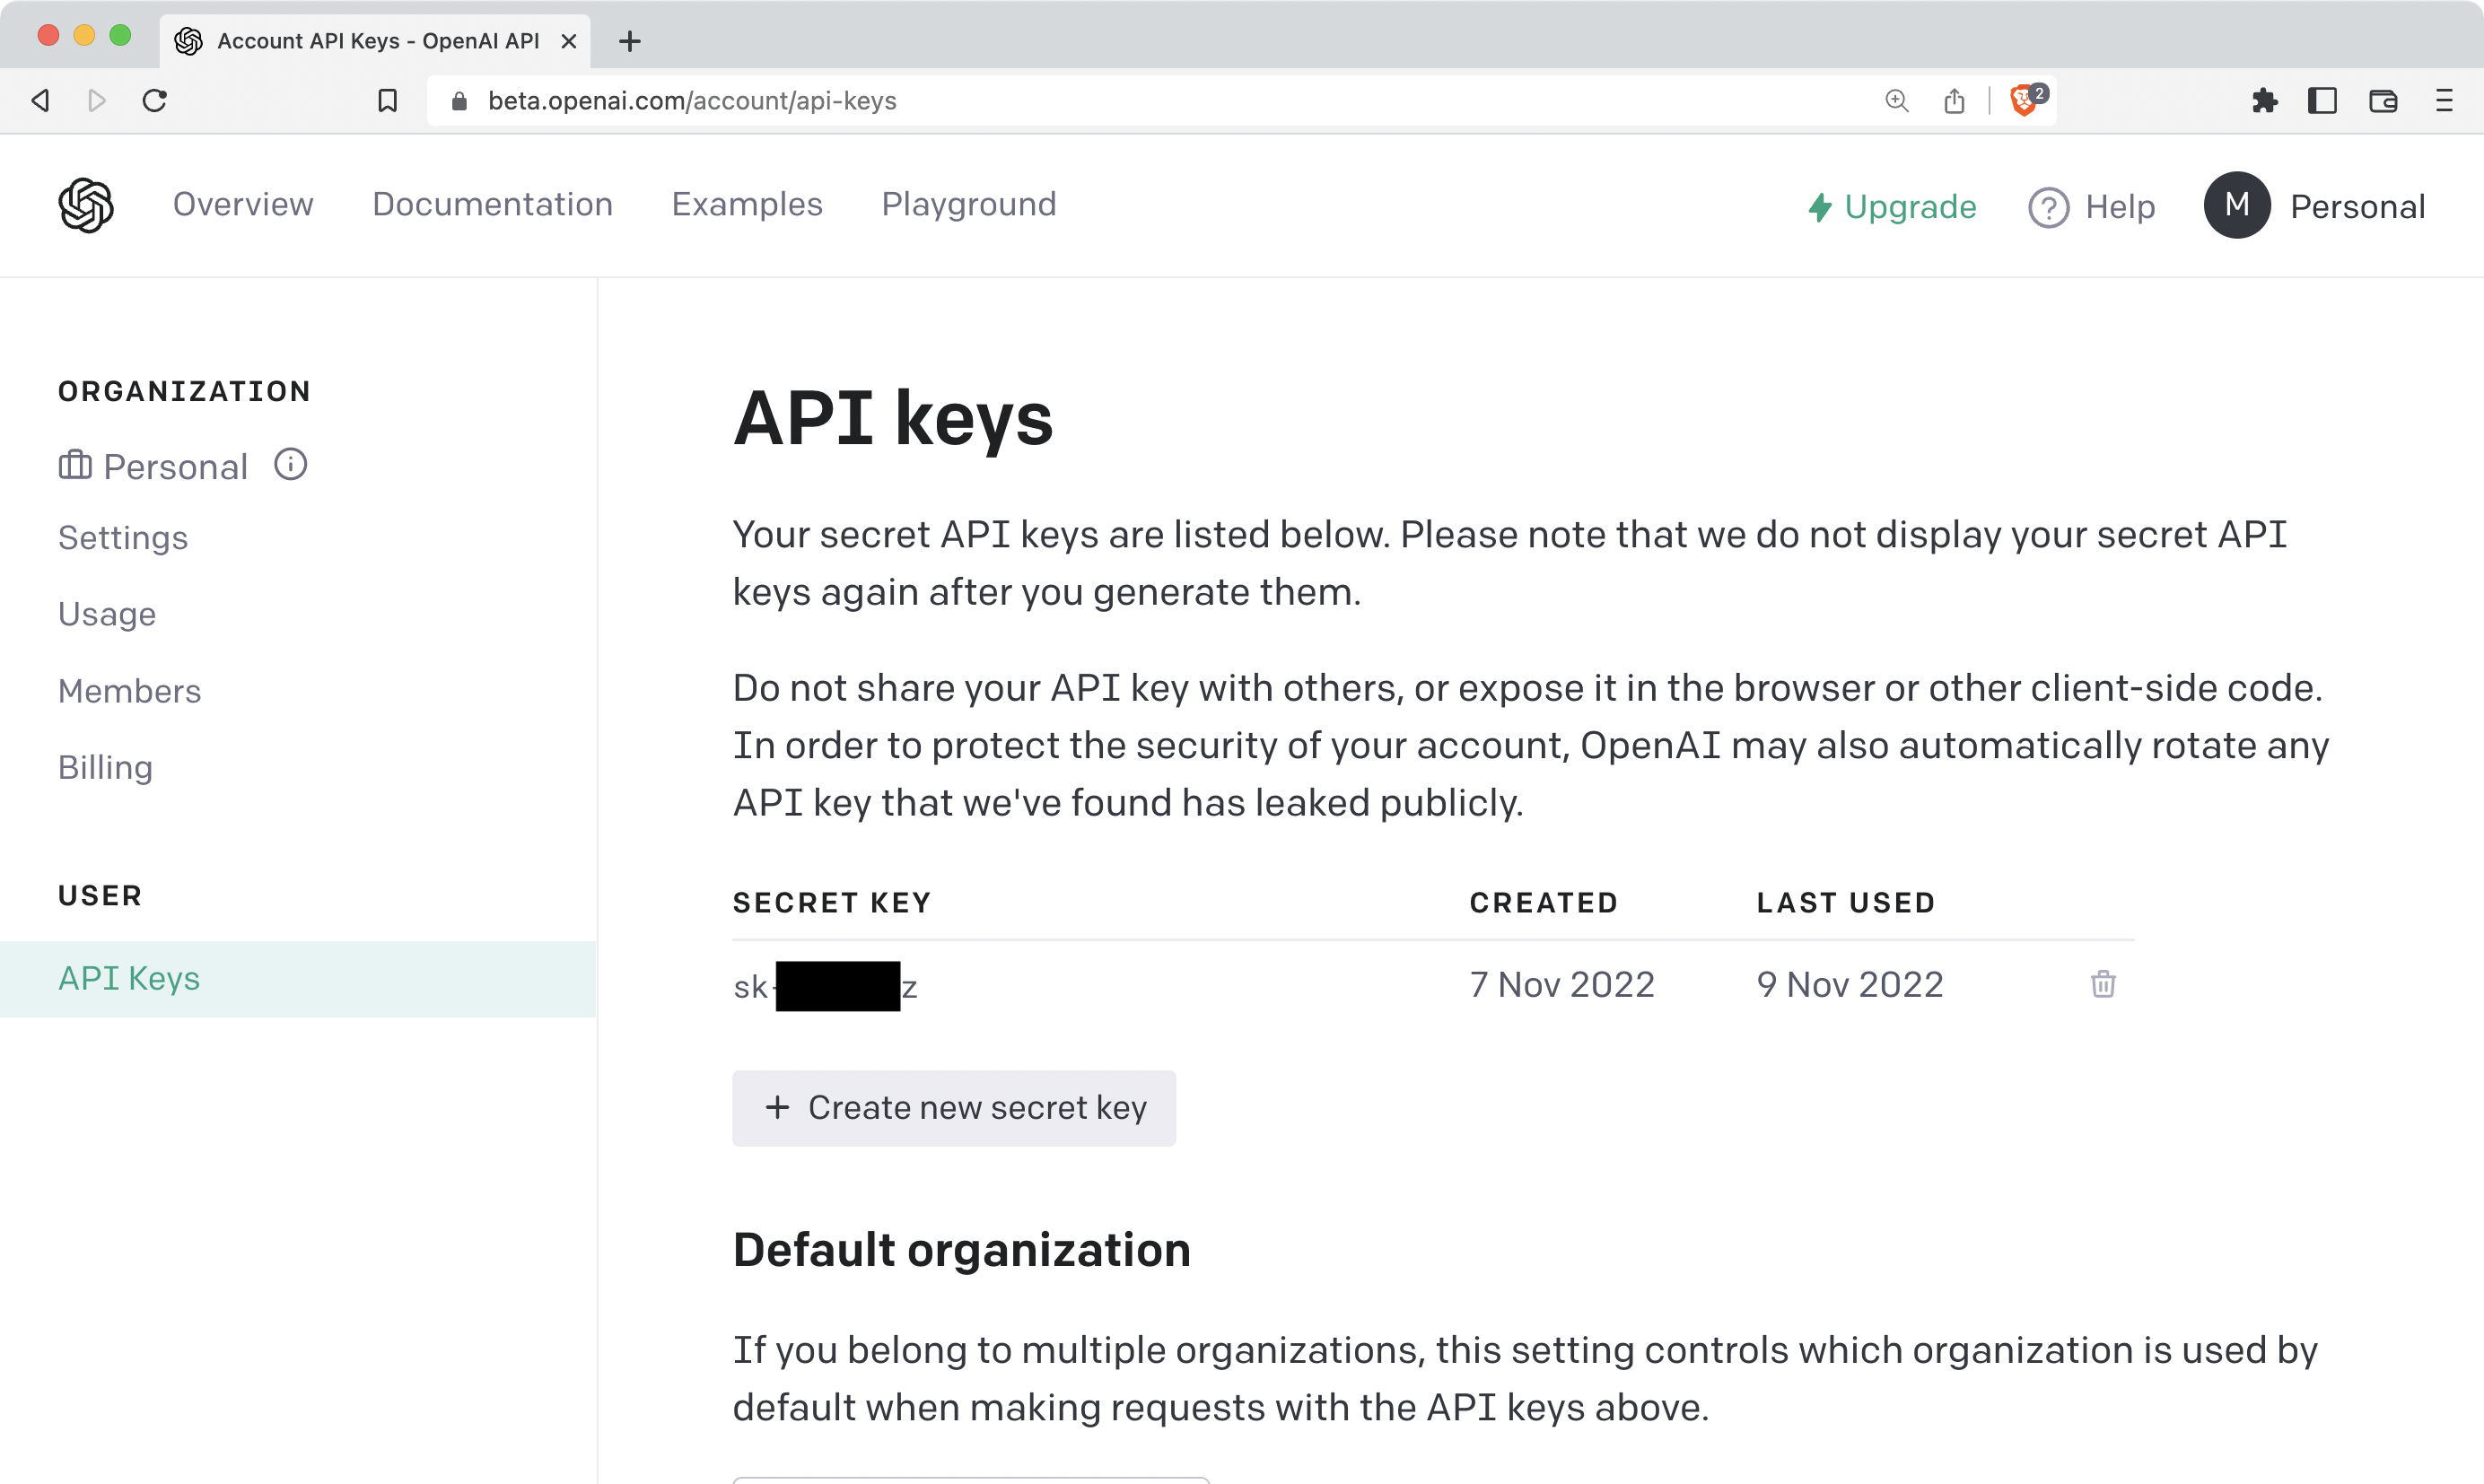
On this page, you can manage your API keys, which allow you to access the service that OpenAI offers through their API. You can create and delete secret keys.
Click on Create new secret key to create a new API key, and copy the value shown in the pop-up window:
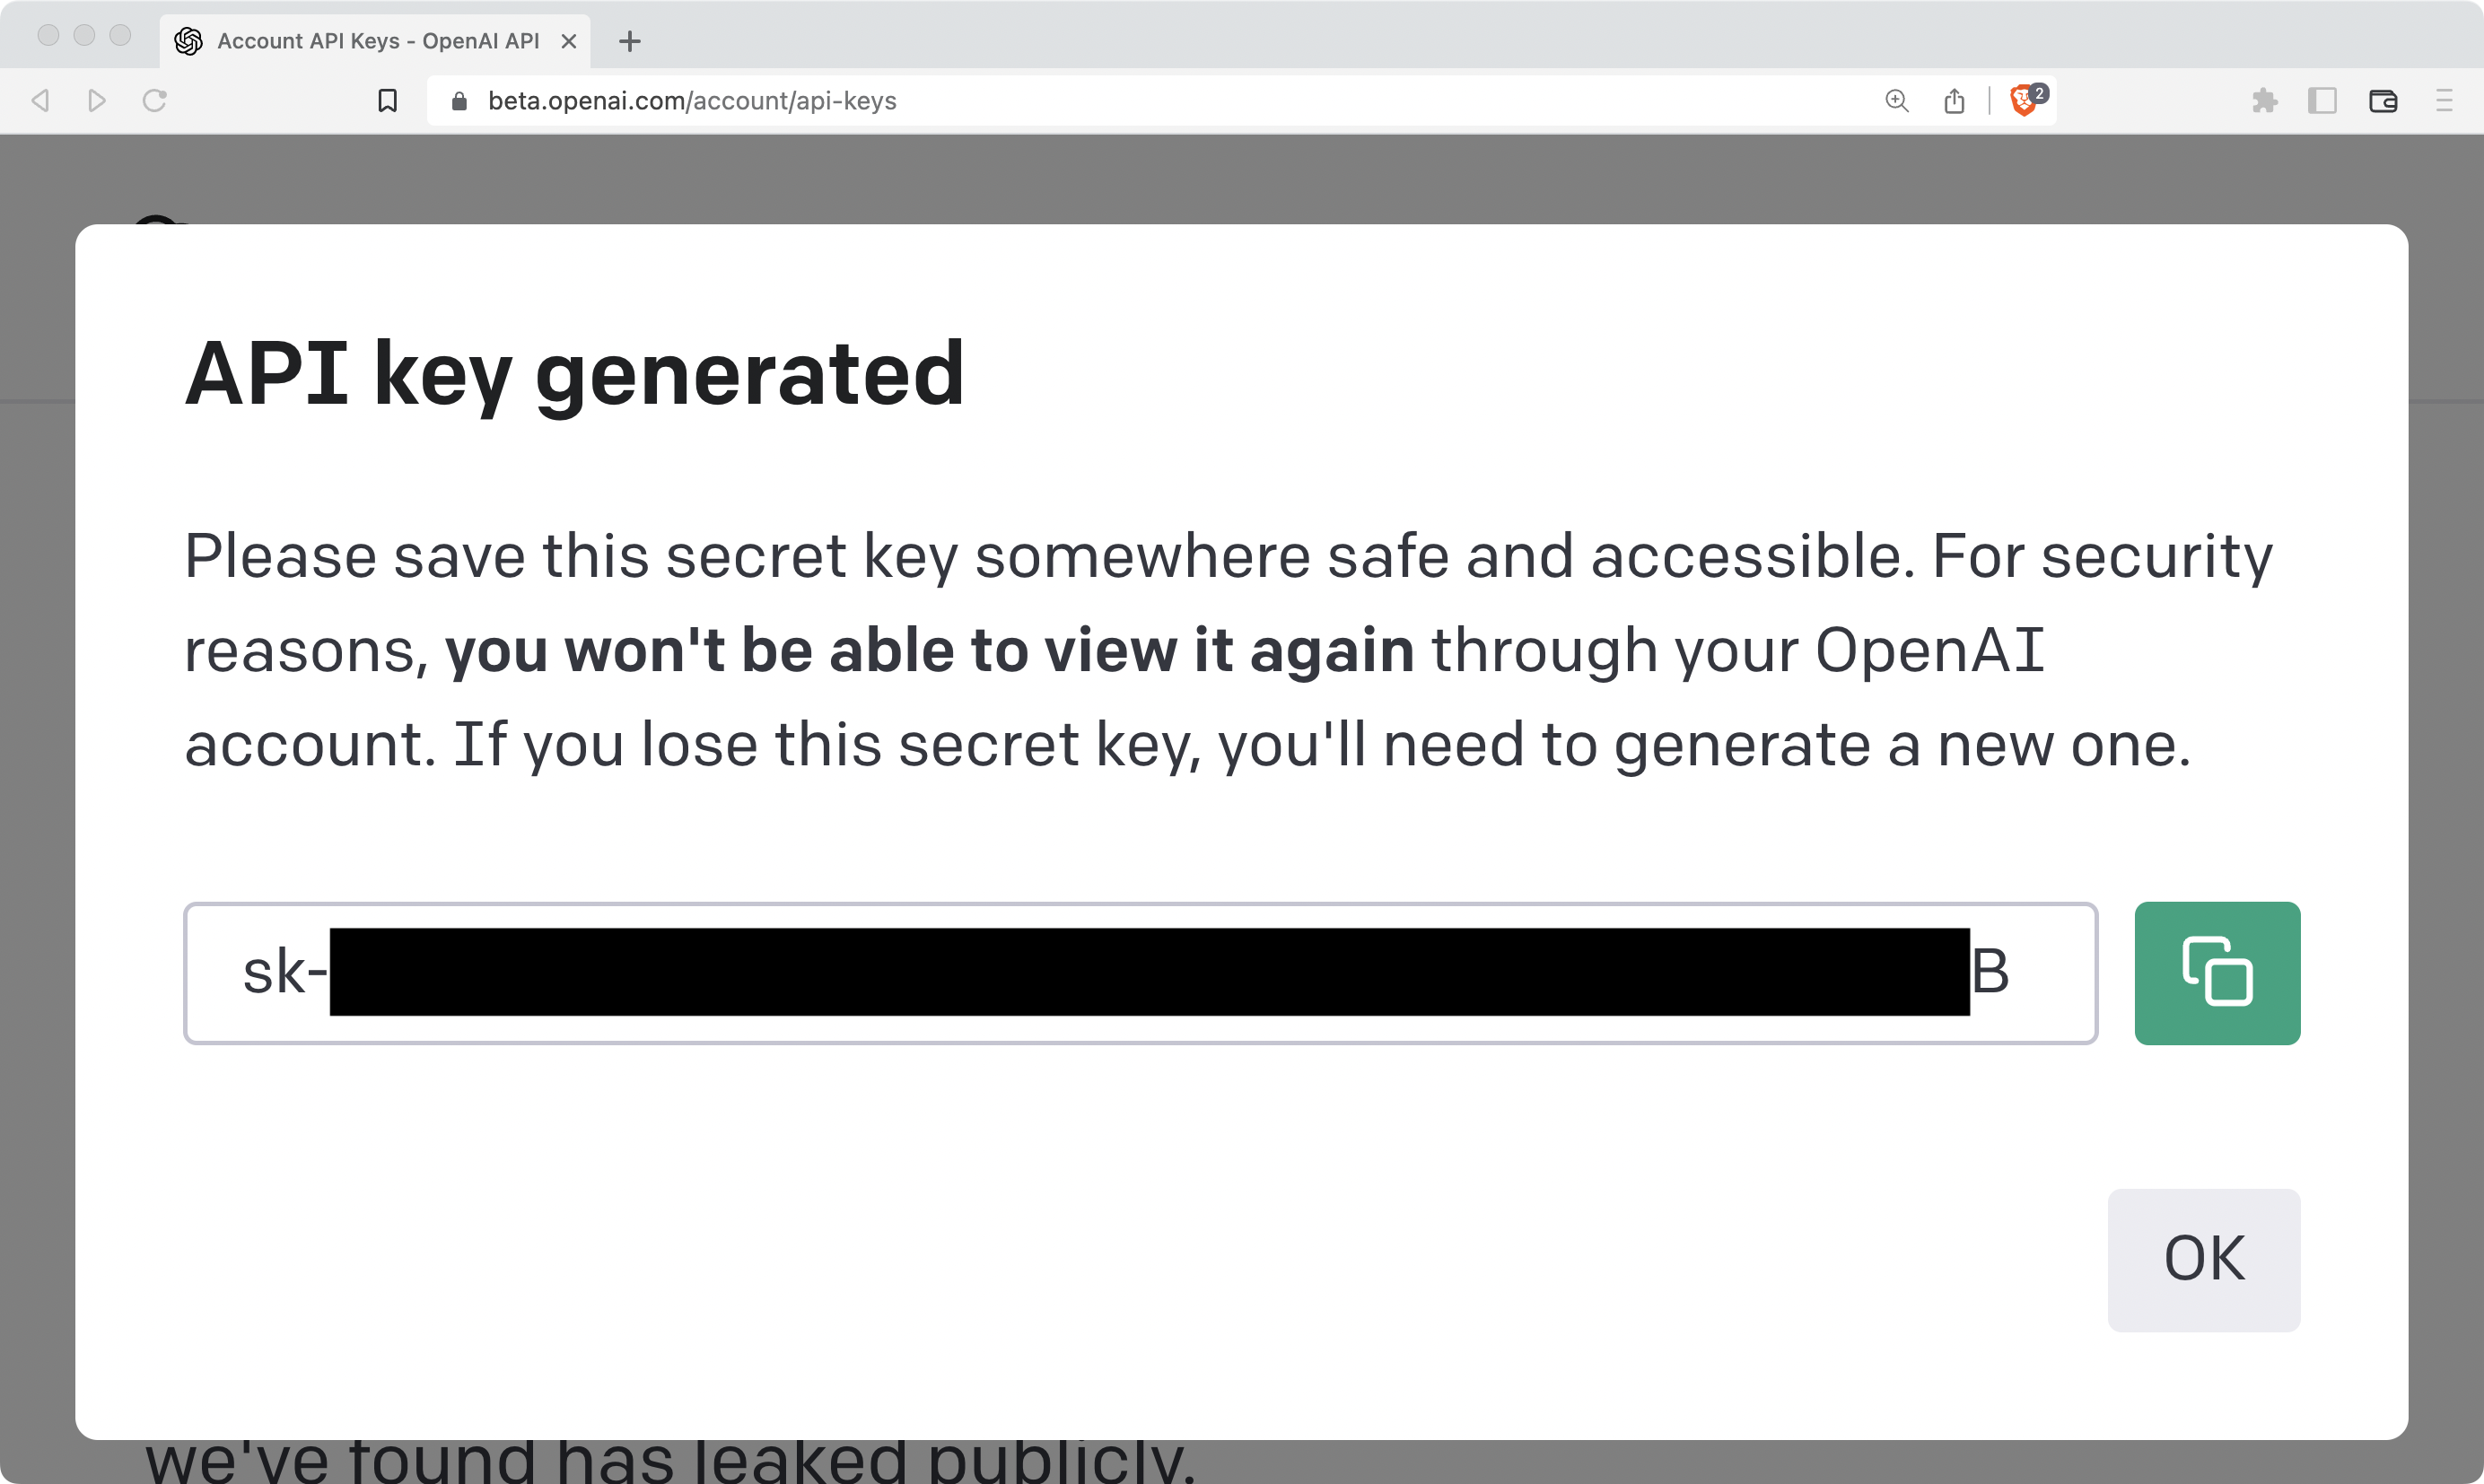
Always keep this key secret! Copy the value of this key so you can later use it in your project. You’ll only see the key value once.
Save Your API Key as an Environment Variable
A quick way to save your API key and make it available to your Python scripts is to save it as an environment variable. Select your operating system to learn how:
With this command, you make the API key accessible under the environment variable OPENAI_API_KEY in your current terminal session. Keep in mind that you’ll lose it if you close your terminal.
You could name your variable however you like, but if you use OPENAI_API_KEY, which is the name suggested by the OpenAI documentation, then you’ll be able to use the provided code examples without needing to do any additional setup.
Understand Pricing for DALL·E and Other OpenAI API Products
OpenAI assigns your API usage through the unique key values, so make sure to keep your API key private only to yourself. The company calculates pricing of requests to the Images API on a per-image basis that depends on the resolution of the output image:
| Resolution | Price per image |
|---|---|
| 256×256 | $0.016 |
| 512×512 | $0.018 |
| 1024×1024 | $0.020 |
If you signed up with OpenAI’s API recently, then you’ll benefit from the free trial that allows you to use $18 of free credits within your first three months. That allows you to generate a lot of images if you’re just here to explore!
However, keep in mind that it’s a single free trial budget across all OpenAI API services, so you might not want to spend it all on creating stunning images. Also note that you can’t use the credits from the DALL·E web interface for API calls.
Note: OpenAI’s API services are changing rapidly. You should check their web page for up-to-date information about pricing and offers.
With the pricing and logistics out of the way, and your API key safely stored, you’re now ready to create some images from text prompts.
Create an Image From a Text Prompt With OpenAI’s DALL·E
Start by confirming that you’re set up and ready to go by using the openai library through its command-line interface:
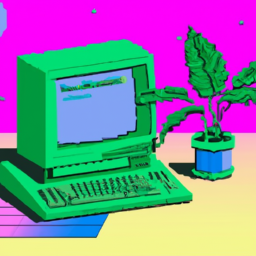
(venv) $ openai api image.create -p "a vaporwave computer"
This command will send a request to OpenAI’s Images API and create one image from the text prompt "a vaporwave computer". As a result, you’ll receive a JSON response that contains a URL that points to your freshly created image:
{
  "created": 1668073562,
  "data": [
    {
      "url": "https://oaidalleapiprodscus.blob.core.windows.net/private/org
      ⮑ -QANMxYn3BsMeuAbRT8X3iiu3/user-xSuQTJ0IIVj3dHM4DPymXTg4/img-5GqtVx
      ⮑ L86Retwi282RbE8HzA.png?st=2022-11-10T08%3A46%3A02Z&se=2022-11-10T1
      ⮑ 0%3A46%3A02Z&sp=r&sv=2021-08-06&sr=b&rscd=inline&rsct=image/png&sk
      ⮑ oid=6aaadede-4fb3-4698-a8f6-684d7786b067&sktid=a48cca56-e6da-484e-
      ⮑ a814-9c849652bcb3&skt=2022-11-09T14%3A20%3A19Z&ske=2022-11-10T14%3
      ⮑ A20%3A19Z&sks=b&skv=2021-08-06&sig=yorbHuIy/qHhWvGPmJrZ8apJptorzpI
      ⮑ 0/62VH2lmhcg%3D"
    }
  ]
}
Click your URL or copy and paste it into your browser to view the image. Here’s the image that DALL·E dreamt up for my request:
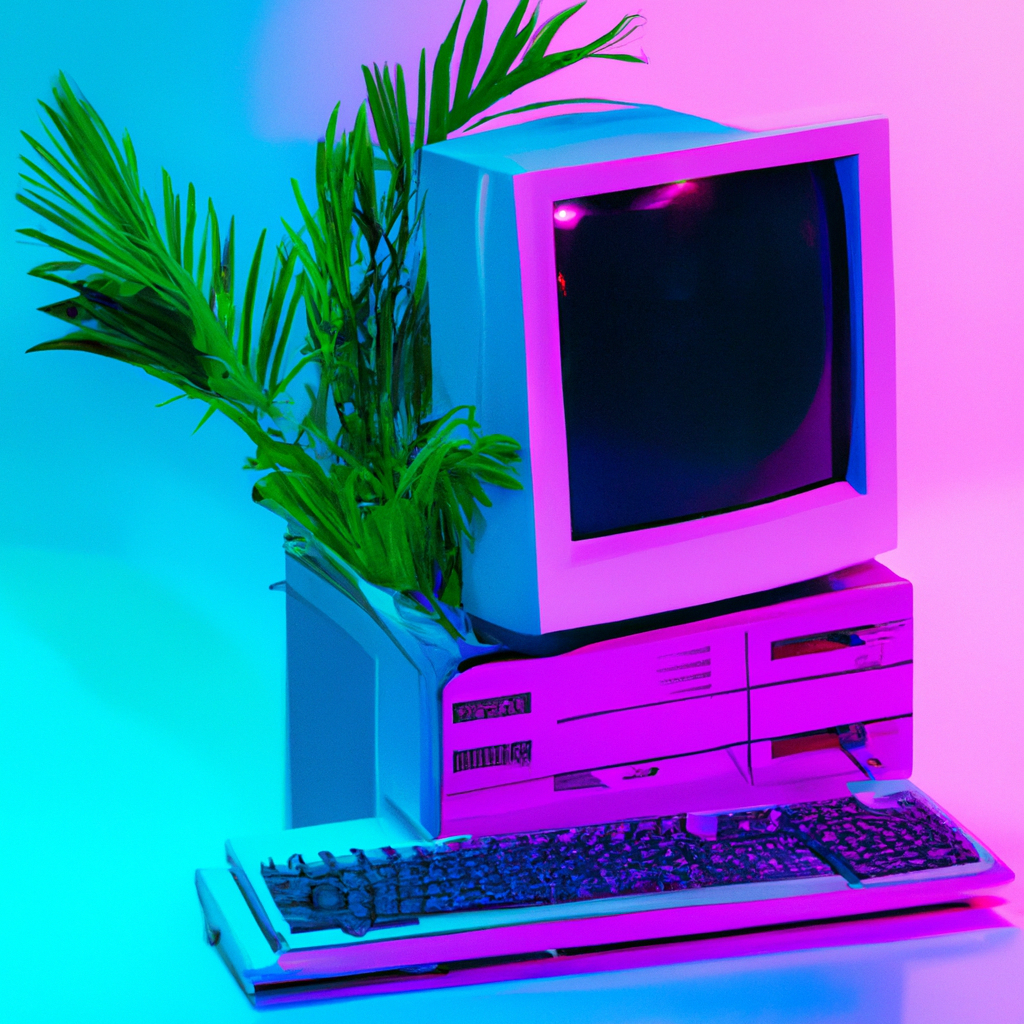
Your image will look different. That’s because the diffusion model creates each of these images only when you submit the request.
Note: The URL with your generated image is only valid for one hour, so make sure to save the image to your computer if you like it and want to keep it around.
The API also follows the same content policy as the web interface. If you send text prompts that conflict with the content policy, you won’t receive a result, and you might get blocked after repeated violations.
Now that you’ve confirmed that everything is set up correctly and you got a glimpse of what you can do with the OpenAI Images API, you’ll next learn how to integrate it into a Python script.
Call the API From a Python Script
It’s great that you can create an image from the command-line interface (CLI), but it’d be even better to incorporate this functionality into your Python applications. There’s a lot of exciting stuff you could build!
Note: Note that the Images API is in public beta. This means that the API will still evolve, might change significantly, and might therefore not be ideal for building production applications. It also currently enforces a rate limit of ten images per minute and twenty-five images per five minutes.
Open your favorite code editor and write a script that you’ll use to create an image from a text prompt just like you did using the command-line before:
 1# create.py
 2
 3import os
 4
 5import openai
 6
 7PROMPT = "An eco-friendly computer from the 90s in the style of vaporwave"
 8
 9openai.api_key = os.getenv("OPENAI_API_KEY")
10
11response = openai.Image.create(
12    prompt=PROMPT,
13    n=1,
14    size="256x256",
15)
16
17print(response["data"][0]["url"])
Just like before, this code sends an authenticated request to the API that generates a single image based on the text in PROMPT. Note that this code adds some tweaks that’ll help you to build more functionality into the script:
-
Line 7 defines the text prompt as a constant. For more specific results, you added more text to better describe the image that you want to get. Additionally, putting this text into a constant at the top of your script allows you to quickly refactor your code to collect the text from user input instead, because its value is quicker to find and edit.
-
Line 9 gets your API key from the environment variable that you saved it to earlier. Because you’ve named the environment variable
OPENAI_API_KEY, you don’t even need this line of code. Theopenailibrary automatically accesses the API key value from your environment as long as you stuck to the suggested name. With this line of code, you could also load it from a differently named environment variable. -
Line 11 creates an instance of
openai.Imageand calls.create()on it. The next couple of lines contain some of the parameters that you can pass to the method. -
Line 12 passes the value of
PROMPTto the fittingly namedpromptparameter. With that, you give DALL·E the text that it’ll use to create the image. Note that you also passed a text prompt when you called the API from the command-line interface. -
Line 13 is a parameter that you haven’t used before. It passes the integer
1to the parametern. This parameter lets you define how many new images you want to create with the prompt. The value ofnneeds to be between one and ten and defaults to1. -
Line 14 shows you another new parameter that you haven’t used when calling the API from your CLI. With
size, you can define the dimensions of the image that DALL·E should generate. The argument needs to be a string—either"256x256","512x512", or"1024x1024". Each string represents the dimensions in pixels of the image that you’ll receive. It defaults to the largest possible setting, 1024x1024.
Finally, you also want to get the URL so that you can look at the generated image online. For this, you step through the JSON response to the "url" key in line 17 and print its value to your terminal.
When you run this script, you’ll get output that’s similar to before, but now you won’t see the whole JSON response, only the URL:
(venv) $ python create.py
https://oaidalleapiprodscus.blob.core.windows.net/private/org-QANMxYn3BsMe
⮑ uAbRT8X3iiu3/user-xSuQTJ0IIVj3dHM4DPymXTg4/img-4AMS4wJJLFsu6ClQmGDppAeV
⮑ .png?st=2022-11-10T12%3A22%3A46Z&se=2022-11-10T14%3A22%3A46Z&sp=r&sv=20
⮑ 21-08-06&sr=b&rscd=inline&rsct=image/png&skoid=6aaadede-4fb3-4698-a8f6-
⮑ 684d7786b067&sktid=a48cca56-e6da-484e-a814-9c849652bcb3&skt=2022-11-10T
⮑ 10%3A55%3A29Z&ske=2022-11-11T10%3A55%3A29Z&sks=b&skv=2021-08-06&sig=xJW
⮑ imMiA1/nGmFMYKUTsJq7G1u4xSL652r/MrzTH0Nk%3D
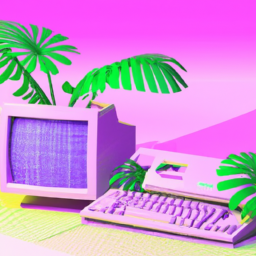
Click the link or paste it in your browser to view the generated image. Your image will again look different, but you should see an image that resembles the prompt that you used in PROMPT:
You may notice that this image is much smaller than the one you created with the CLI call. That’s because you asked the API for a 256x256 pixel image through the size parameter. Smaller are less expensive, so you just saved some money! As a successful saver, maybe you’d like to save something else—your image data.
Save the Image Data to a File
While it’s great that you’re creating images from text using Python, DALL·E, and the OpenAI API, the responses are currently quite fleeting. If you want to continue to work with the generated image within your Python script, it’s probably better to skip the URL and access the image data directly instead:
 1# create.py
 2
 3import os
 4
 5import openai
 6
 7PROMPT = "An eco-friendly computer from the 90s in the style of vaporwave"
 8
 9openai.api_key = os.getenv("OPENAI_API_KEY")
10
11response = openai.Image.create(
12    prompt=PROMPT,
13    n=1,
14    size="256x256",
15    response_format="b64_json",
16)
17
18print(response["data"][0]["b64_json"][:50])
The API allows you to switch the response format from a URL to the Base64-encoded image data. In line 15, you set the value of response_format to "b64_json". The default value of this parameter is "url", which is why you’ve received URLs in the JSON responses up to now.
While the JSON response that you get after applying this change looks similar to before, the dictionary key to access the image data is now "b64_json" instead of "url". You applied this change in the call to print() on line 18 and limited the output to the first fifty characters.
If you run the script with these settings, then you’ll get the actual data of the generated image. But don’t run the script yet, because the image data will be lost immediately after the script runs, and you’ll never get to see the image!
To avoid losing the one perfect image that got away, you can store the JSON responses in a file instead of printing them to the terminal:
 1# create.py
 2
 3import json
 4import os
 5from pathlib import Path
 6
 7import openai
 8
 9PROMPT = "An eco-friendly computer from the 90s in the style of vaporwave"
10DATA_DIR = Path.cwd() / "responses"
11
12DATA_DIR.mkdir(exist_ok=True)
13
14openai.api_key = os.getenv("OPENAI_API_KEY")
15
16response = openai.Image.create(
17    prompt=PROMPT,
18    n=1,
19    size="256x256",
20    response_format="b64_json",
21)
22
23file_name = DATA_DIR / f"{PROMPT[:5]}-{response['created']}.json"
24
25with open(file_name, mode="w", encoding="utf-8") as file:
26    json.dump(response, file)
With a few additional lines of code, you’ve added file handling to your Python script using pathlib and json:
-
Lines 10 and 12 define and create a data directory called
"responses/"that’ll hold the API responses as JSON files. -
Line 23 defines a variable for the file path where you want to save the data. You use the beginning of the prompt and the timestamp from the JSON response to create a unique file name.
-
Lines 25 and 26 create a new JSON file in the data directory and write the API response as JSON to that file.
With these additions, you can now run your script and generate images, and the image data will stick around in a dedicated file within your data directory.
Did you run the script and inspect the generated JSON file? Looks like gibberish, doesn’t it? So where’s that beautiful image that you know with certainty is the best image ever created by DALL·E?
It’s right there, only it’s currently represented as Base64-encoded bits, which doesn’t make for a great viewing experience if you’re a human. In the next section, you’ll learn how you can convert Base64-encoded image data into a PNG file that you can look at.
Decode a Base64 JSON Response
You just saved a PNG image as a Base64-encoded string in a JSON file. That’s great because it means that your image won’t get lost in the ether of the Internet after one hour, like it does if you keep generating URLs with your API calls.
However, now you can’t look at your image—unless you learn how to decode the data. Fortunately, this doesn’t require a lot of code in Python, so go ahead and create a new script file to accomplish this conversion:
 1# convert.py
 2
 3import json
 4from base64 import b64decode
 5from pathlib import Path
 6
 7DATA_DIR = Path.cwd() / "responses"
 8JSON_FILE = DATA_DIR / "An ec-1667994848.json"
 9IMAGE_DIR = Path.cwd() / "images" / JSON_FILE.stem
10
11IMAGE_DIR.mkdir(parents=True, exist_ok=True)
12
13with open(JSON_FILE, mode="r", encoding="utf-8") as file:
14    response = json.load(file)
15
16for index, image_dict in enumerate(response["data"]):
17    image_data = b64decode(image_dict["b64_json"])
18    image_file = IMAGE_DIR / f"{JSON_FILE.stem}-{index}.png"
19    with open(image_file, mode="wb") as png:
20        png.write(image_data)
The script convert.py will read a JSON file with the filename that you defined in JSON_FILE. Remember that you’ll need to adapt the value of JSON_FILE to match the filename of your JSON file, which will be different.
The script then fetches the Base64-encoded string from the JSON data, decodes it, and saves the resulting image data as a PNG file in a directory. Python will even create that directory for you, if necessary.
Note that this script will also work if you’re fetching more than one image at a time. The for loop will decode each image and save it as a new file.
Note: You can generate JSON files with Base64-encoded data of multiple images by running create.py after passing a value higher than 1 to the n parameter.
Most of the code in this script is about reading and writing files from and into the correct folders. The true star of the code snippet is b64decode(). You import the function in line 4 and put it to work in line 17. It decodes the Base64-encoded string so that you can save the actual image data as a PNG file. Your computer will then be able to recognize it as a PNG image and know how to display to you.
After running the script, you can head into the newly created folder structure and open the PNG file to finally see the ideal generated image that you’ve been waiting for so long:
Is it everything you’ve ever hoped for? If so, then rejoice! However, if the image you got looks kind of like what you’re looking for but not quite, then you can make another call to the API where you pass your image as input and create a couple of variations of it.
Create Variations of an Image
If you have an image—whether it’s a machine-generated image or not—that’s similar to what you’re looking for but doesn’t quite fit the bill, then you can create variations of it using OpenAI’s DALL·E latent diffusion model.
Based on the code that you wrote earlier in this tutorial, you can create a new file that you’ll call vary.py:
 1# vary.py
 2
 3import json
 4import os
 5from base64 import b64decode
 6from pathlib import Path
 7
 8import openai
 9
10DATA_DIR = Path.cwd() / "responses"
11SOURCE_FILE = DATA_DIR / "An ec-1667994848.json"
12
13openai.api_key = os.getenv("OPENAI_API_KEY")
14
15with open(SOURCE_FILE, mode="r", encoding="utf-8") as json_file:
16    saved_response = json.load(json_file)
17    image_data = b64decode(saved_response["data"][0]["b64_json"])
18
19response = openai.Image.create_variation(
20    image=image_data,
21    n=3,
22    size="256x256",
23    response_format="b64_json",
24)
25
26new_file_name = f"vary-{SOURCE_FILE.stem[:5]}-{response['created']}.json"
27
28with open(DATA_DIR / new_file_name, mode="w", encoding="utf-8") as file:
29    json.dump(response, file)
In this script, you send the Base64-encoded image data from the previous JSON response to the Images API and ask for three variations of the image. You save the image data of all three images in a new JSON file in your data directory:
-
Line 11 defines a constant that holds the name of the JSON file where you collected the Base64-encoded data of the image that you want to generate variations of. If you want to create variations of a different image, then you’ll need to edit this constant before rerunning the script.
-
Line 17 decodes the image data using
b64decode()in the same way you did inconvert.py, and saves it toimage_data. Note that the code picks the first image from your JSON file withsaved_response["data"][0]. If your saved response contains multiple images and you want to base your variations off another image, then you’ll need to adapt the index accordingly. -
Line 20 passes
image_dataas an argument toopenai.Image.create_variation(). Note that theimageparameter of the method requires valid PNG image data, which is why you need to decode the string from the JSON response before passing it to the method. -
Line 21 defines how many variation images of the original image you want to receive. In this case, you set
nto3, which means that you’ll receive three new images.
If you take a look in your responses/ directory, then you’ll see a new JSON file whose name starts with vary-. This file holds the image data from your new image variations. You can copy the filename and set it as JSON_FILE in convert.py, run the conversion script, and take a look at your image variations.
Note: You don’t need to use Base64-encoded image data as a source. Instead, you can open a square PNG file no larger than four megabytes in binary mode and pass the image data like that to image:
IMAGE_PATH = "images/example.png"

response = openai.Image.create_variation(
    image=open(IMAGE_PATH, mode="rb"),
    n=3,
    size="256x256",
    response_format="b64_json",
)
You can also find this approach in the official API documentation on image variations.
However, if you’re planning to include the functionality in a Python app, then you may want to skip saving a PNG file only to later load the file again. Therefore, it can be useful to know how to handle the image data if it doesn’t come directly from reading an image file.
How do your image variations look? Maybe one of them sticks out as the best fit for what you were looking for:
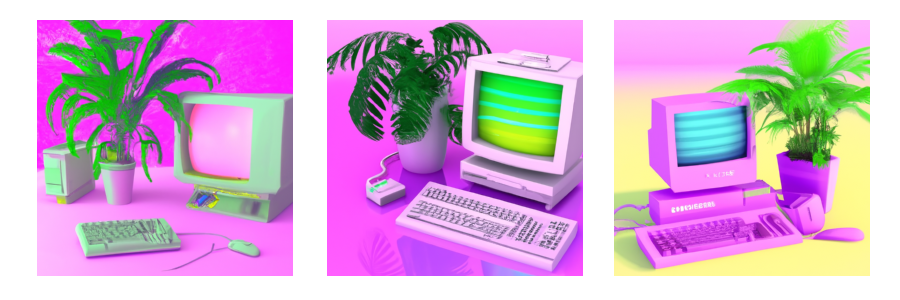
If you like one of the images, but it’s still not quite what you’re looking for, then you can adapt vary.py by changing the value for SOURCE_FILE and run it again. If you want to base the variations on an image other than the first one, then you’ll also need to change the index of the image data that you want to use.
Conclusion
It’s fun to dream of eco-friendly computers with great AESTHETICS—but it’s even better to create these images with Python and OpenAI’s Images API!
In this tutorial, you’ve learned how to:
- Set up the OpenAI Python library locally
- Use the image generation capabilities of the OpenAI API
- Create images from text prompts using Python
- Create variations of your generated image
- Convert Base64 JSON responses to PNG image files
Most importantly, you gained practical experience with incorporating API calls to DALL·E into your Python scripts, which allows you to bring stunning image creation capabilities into your own applications.
Next Steps
The OpenAI image generation API has yet another feature that you can explore next. With a similar API call, you can edit parts of your image, thereby implementing inpainting and outpainting functionality from your Python scripts.
Look for a script called edit.py in the provided code examples to give it a try:
Source Code: Click here to download the free source code that you’ll use to generate stunning images with DALL·E 2 and the OpenAI API.
You might want to do further post-processing of your images with Python. For that, you could read up on image processing with pillow.
To improve the handling and organization of the code that you wrote in this tutorial, you could replace the script constants with entries in a TOML settings file. Alternatively, you could create a command-line interface with argparse that allows you to pass the variables directly from your CLI.
You might be curious to dive deeper into latent diffusion models. In this tutorial, you learned to interact with the model through an API, but to learn more about the logic that powers this functionality, you might want to set it up on your own computer. However, if you wanted to run DALL·E on your local computer, then you’re out of luck because OpenAI hasn’t made the model publicly available.
But there are other latent diffusion models that achieve similarly stunning results. As a next step, you could install a project called Stable Diffusion locally, dig into the codebase, and use it to generate images without any content restrictions.
Or you could just continue to create beautiful and weird images with your Python scripts, DALL·E, and the OpenAI API! Which interesting text prompt did you try? What strange or beautiful image did DALL·E generate for you? Share your experience in the comments below, and keep dreaming!


