Watch Now This tutorial has a related video course created by the Real Python team. Watch it together with the written tutorial to deepen your understanding: HTML and CSS Foundations for Python Developers
When you want to build websites as a Python programmer, there’s no way around HTML and CSS. Almost every website on the Internet is built with HTML markup to structure the page. To make a website look nice, you can style HTML with CSS.
If you’re interested in web development with Python, then knowing HTML and CSS will help you understand web frameworks like Django and Flask better. But even if you’re just getting started with Python, HTML and CSS can enable you to create small websites to impress your friends.
In this tutorial, you’ll learn how to:
- Structure a basic HTML file
- View and inspect HTML in your browser
- Insert images and page links
- Style a website with CSS
- Format HTML with accessibility in mind
- Use Python to write and parse HTML code
You’ll get an introduction to HTML and CSS that you can follow along with. Throughout this tutorial, you’ll build a website with three pages and CSS styling:
While creating the web project, you’ll craft a boilerplate HTML document that you can use in your upcoming web projects. You may find that the source code will come in handy when you’re working on future projects. You can download it here:
Free Bonus: Click here to download the supplemental materials for this tutorial, including a time-saving HTML template file.
After learning the basics of HTML and CSS, you’ll find ideas on how to continue your journey at the end of the tutorial.
Create Your First HTML File
Think of any website that you’ve recently visited.
Maybe you read some news, chatted with friends, or watched a video.
No matter what kind of website it was, you can bet that its source code has a basic <html> tag at the beginning.
HTML stands for HyperText Markup Language. HTML was created by Tim Berners-Lee, whose name might also ring a bell for you as the inventor of the World Wide Web.
The hypertext part of HTML refers to building connections between different HTML pages. With hyperlinks, you can jump between pages and surf the Web.
You use markup to structure content in a document. In contrast to formatting, the markup defines the meaning of content and not how it looks. In this section, you’ll learn about HTML elements and their roles.
Writing semantic HTML code will make your documents accessible for a wide range of visitors. After all, you want to enable everybody to consume your content, whether they’re visiting your page with a browser or using screen reading tools.
For each HTML element, there’s a standard that defines its intended use. Today, the standards of HTML are defined by the Web Hypertext Application Technology Working Group (WHATWG). The WHATWG plays a similar role for HTML as the Python Steering Council does for Python.
Approximately 95 percent of websites use HTML, so you’ll be hard-pressed to avoid it if you want to do any web development work in Python.
In this section, you’ll start by creating your first HTML file. You’ll learn how to structure your HTML code to make it readable for your browser and for humans.
The HTML Document
In this section, you’ll create a basic HTML file. The HTML file will contain the base structure that most websites are built with.
To start things off, create a file named index.html with some text:
 1<!-- index.html -->
 2
 3Am I HTML already?
Traditionally, the first file of your website is called index.html.
You can think of the index.html page as akin to the main.py or app.py file in a Python project.
Note: Unless your server is configured differently, index.html is the file that the server tries to load when you visit the root URL. That’s why you can visit https://www.example.com/ instead of typing the full https://www.example.com/index.html address.
So far, the only content of index.html is a plain Am I HTML already? string.
You haven’t added any HTML syntax yet, except an HTML comment on line 1.
Similar to the Python interpreter not executing comments in your Python code, the browser won’t render the contents of your HTML comments.
Still, go ahead and open index.html in your browser:
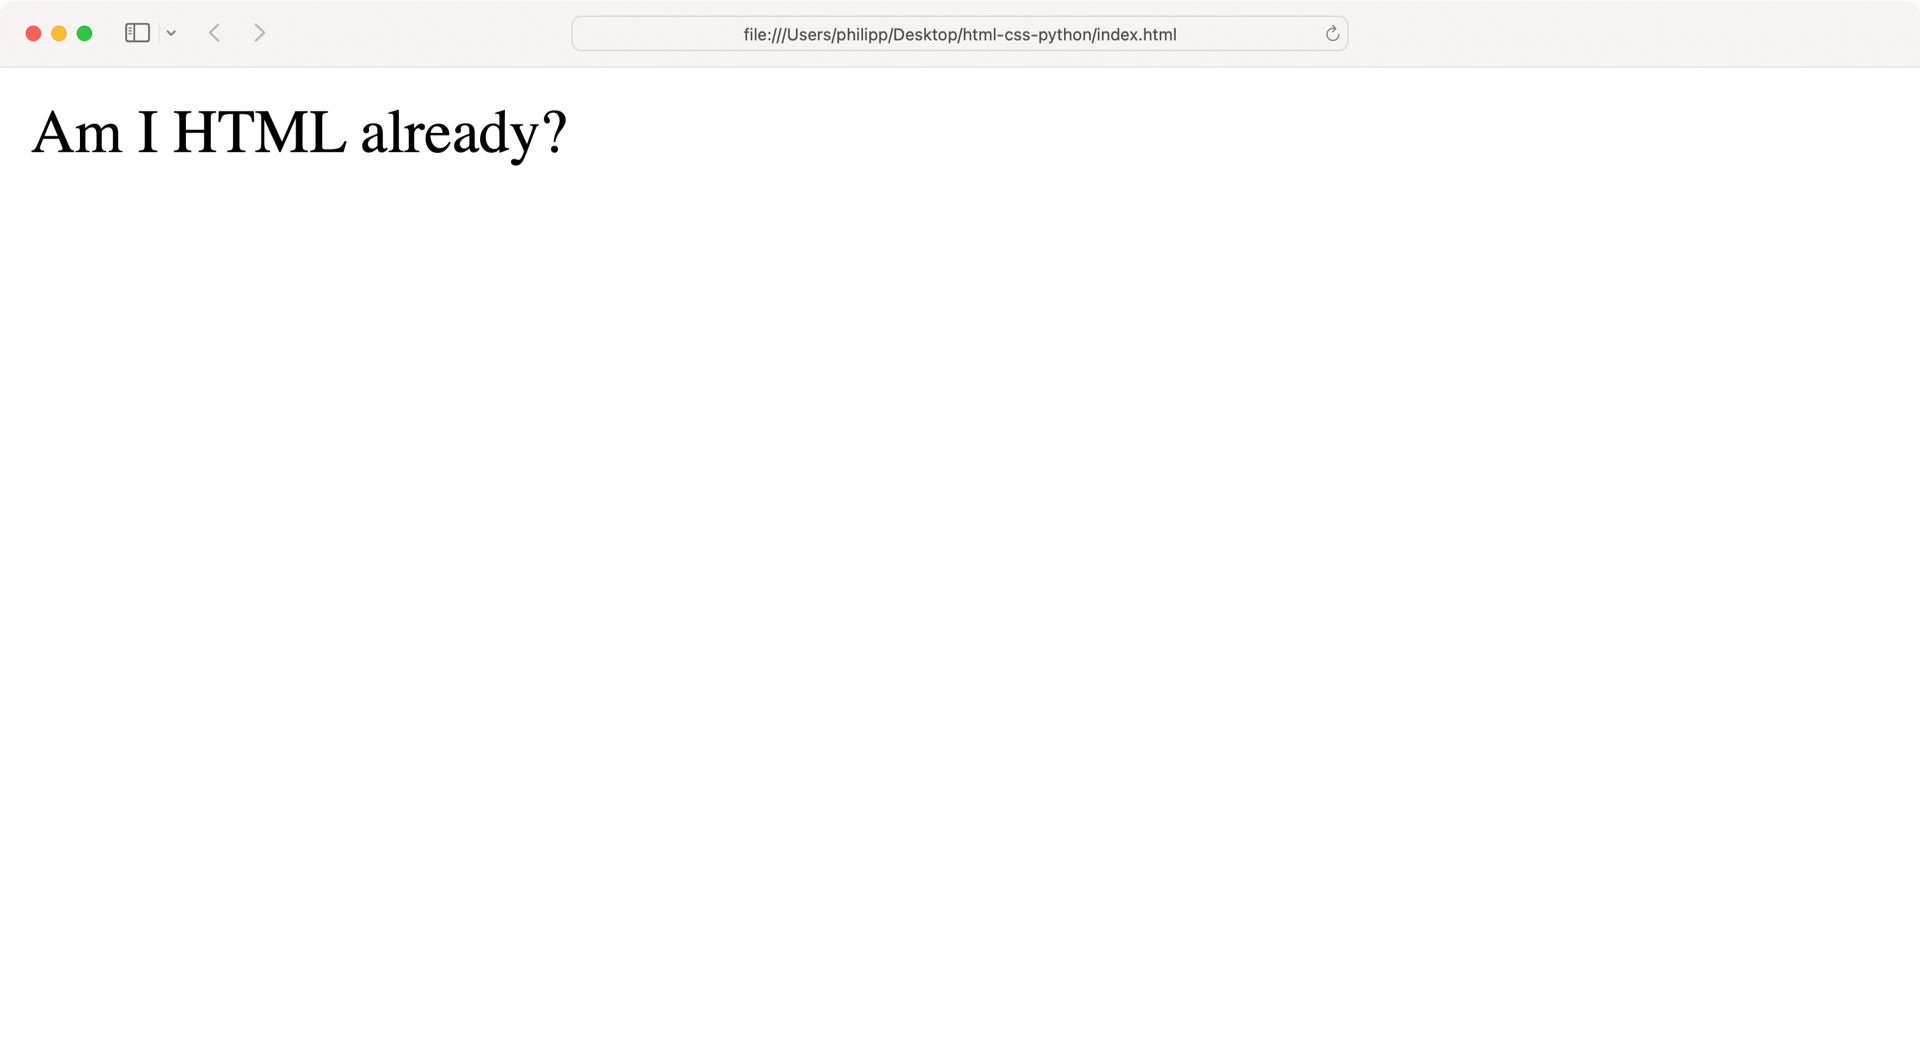
Your browser displays the text without complaining. It seems the browser can handle an HTML file, even if its only cue is the extension. That’s good to know, but this behavior also has a downside.
Browsers will always try to render HTML documents, even when the HTML syntax of your document is not valid. Very seldomly, the browser itself will show you something like a SyntaxError, similar to what Python does when you try to run invalid code. This means that you may not notice if you’ve shipped invalid code, which can cause issues for your website visitors.
Note: If you want to validate the HTML code that you write, then you can upload your HTML file to W3C Markup Validation Service. This linting tool analyzes your code and points out errors.
Update index.html and create a minimal valid HTML document by adding the code below:
 1<!-- index.html -->
 2
 3<!DOCTYPE html>
 4<html lang="en">
 5<head>
 6    <meta charset="utf-8">
 7    <title>Am I HTML already?</title>
 8</head>
 9</html>
This code is the most minimal valid HTML document that you can get away with.
Strictly speaking, you could even ditch the lang attribute in line 4.
But adding the right language subtag is recommended to declare which natural language your document contains.
Note: In this tutorial, you’ll stick with English and use the en language tag.
You can visit the official language subtag registry to find all the other language tags.
The language attribute makes it easier for translation tools to work with your website and will make your website more accessible. Screen readers in particular rely heavily on the language declaration of an HTML document to choose the right language mode for synthesizing the content.
At its root, any HTML document that you build will probably follow the structure of the example above.
But there’s one important HTML element missing.
Open index.html and add <body> below <head>:
 1<!-- index.html -->
 2
 3<!DOCTYPE html>
 4<html lang="en">
 5<head>
 6    <meta charset="utf-8">
 7    <title>Am I HTML already?</title>
 8</head>
 9<body>
10Yes,<br>I am!
11</body>
12</html>
Any valid HTML file must start with a doctype declaration.
In this tutorial, you’ll be using <!DOCTYPE html>, which tells the browser that the document contains HTML5 code and should render your page in standard mode:
If a browser finds an outdated, incomplete or missing doctype at the start of the page, they use “quirks mode”, which is more backwards compatible with old practices and old browsers. (Source)
After the doctype declaration, you have an opening <html> tag.
In line 12, you can find the corresponding closing </html> tag.
Most elements in HTML have an opening tag, some content in between, and a closing tag at the end.
These parts can even be on the same line, like the <title> element in line 7.
Other elements, like <meta> in line 6, don’t have a matching closing tag, so they don’t contain any content.
These empty elements are so-called void elements.
They stand independently and may not even contain attributes. One such example is <br> in line 10, which creates a line break.
HTML tags start with an angle bracket (<) and end with an angle bracket (>).
The tag names in between the angle brackets are usually pretty descriptive and state what the HTML element is meant for.
A good example is <title> in line 7, in which the content defines the title of your page.
The <body> block contains the mass of your content.
You can think of <body> as the part of the HTML document that you can interact with in your browser.
Sometimes the tag names are abbreviated, like the line break element <br> in line 10.
To get an overview of other HTML tag names, visit Mozilla’s HTML elements reference.
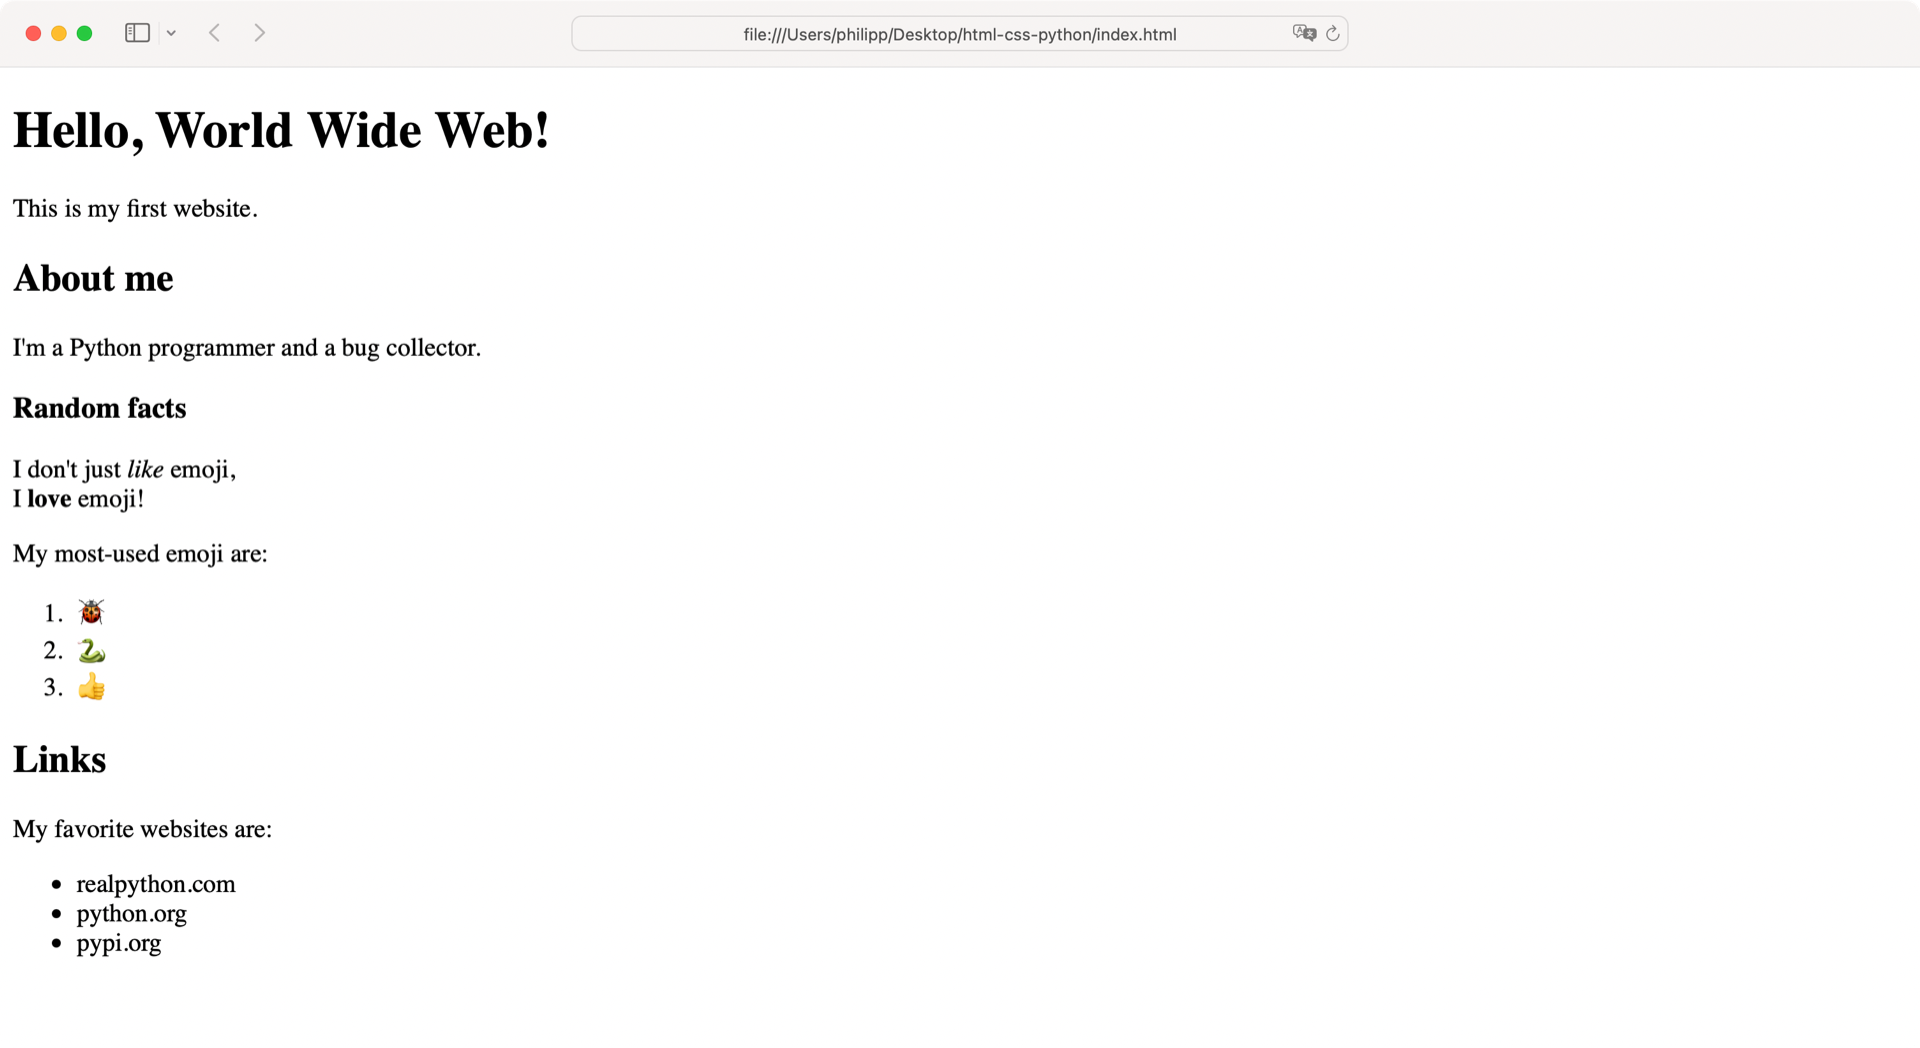
Once you’ve familiarized yourself with the structure of your HTML document, reload index.html in your browser and check out how your website looks:
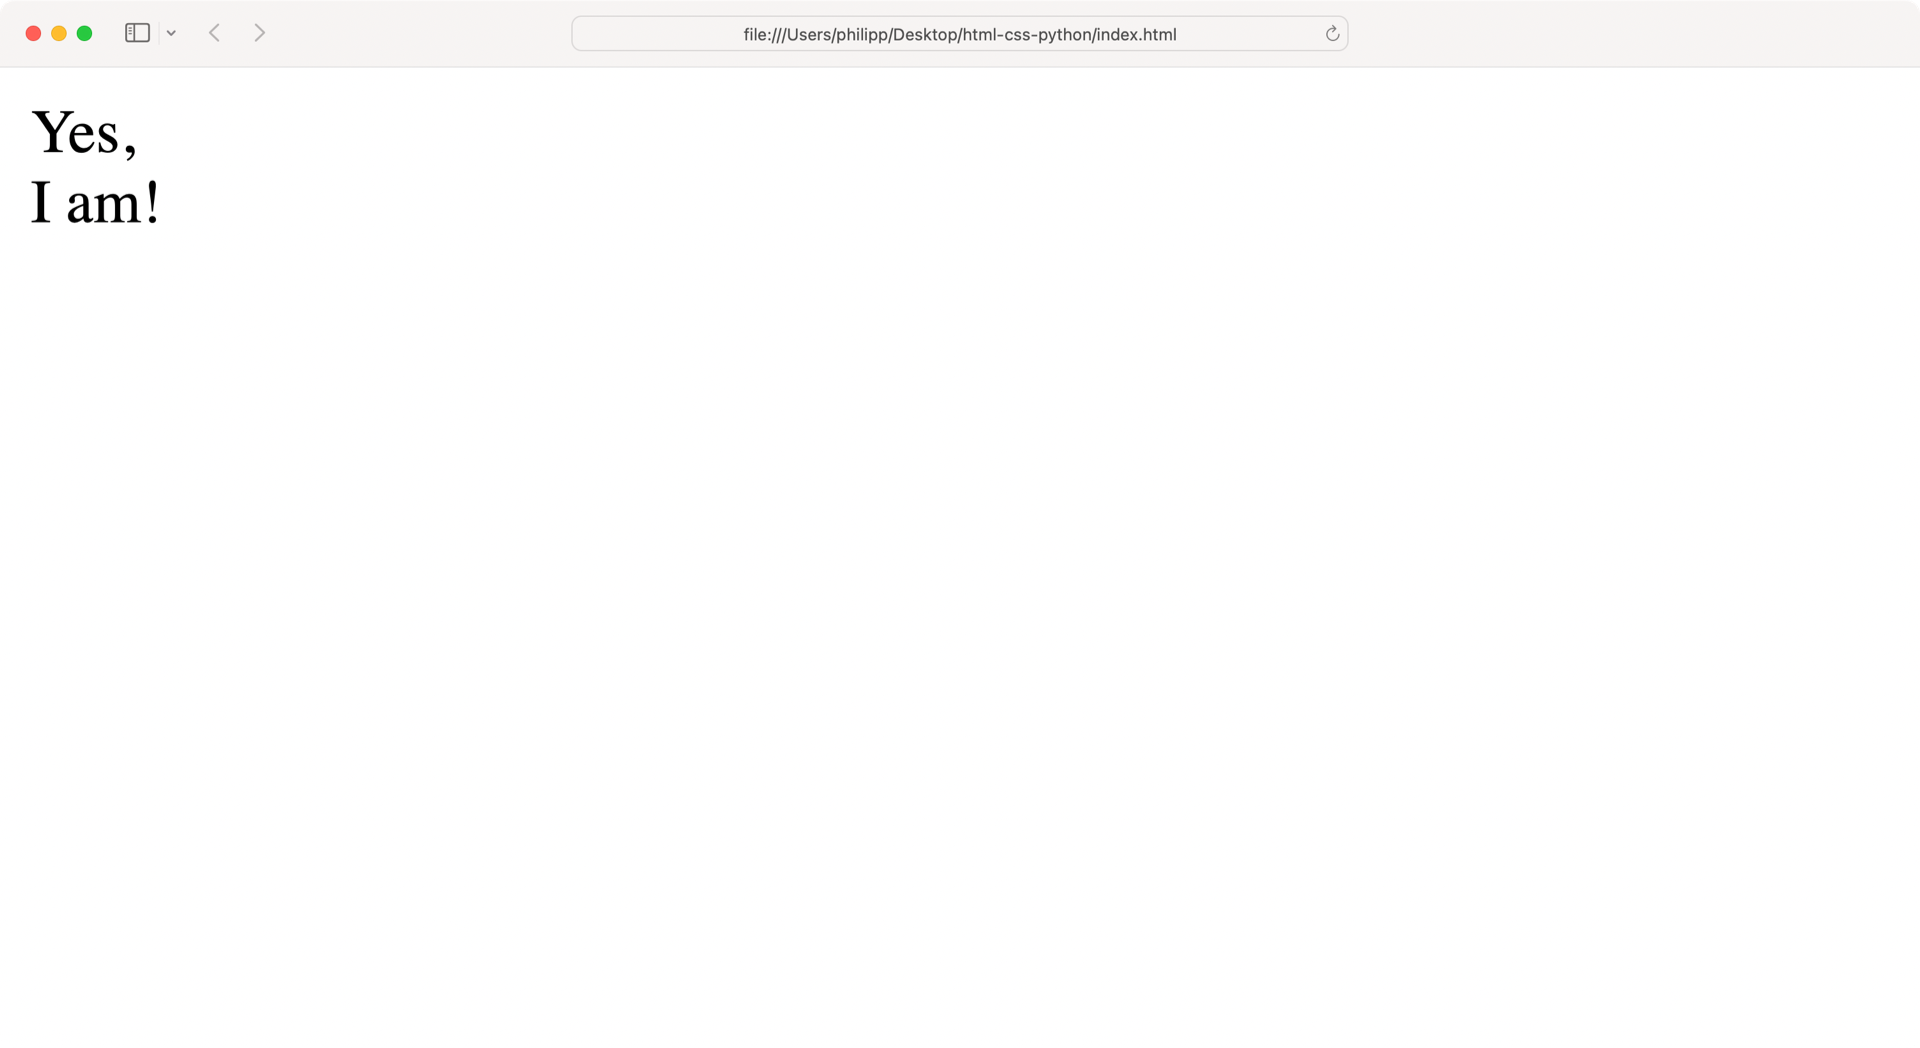
Awesome, you’re now displaying the content of your first proper website!
There’s a good chance that you’ll start any web project with a structure like the one that you’ve built in this section. To save yourself some work in the future, you can download the HTML boilerplate code by clicking the link below:
Free Bonus: Click here to download the supplemental materials for this tutorial, including a time-saving HTML template file.
In the next section, you’ll improve the base structure that you’ve created so far. To explore why HTML is called a markup language, you’ll add content and structure to your website.
Whitespace and Text Formatting
The only markup that your HTML document has so far is the base skeleton of your website.
Now it’s time to dive in deeper and structure some real content.
To have something to work with, add the text below to the <body> block of index.html:
 1<!-- index.html -->
 2
 3<!DOCTYPE html>
 4<html lang="en">
 5<head>
 6    <meta charset="utf-8">
 7    <title>Am I HTML already?</title>
 8</head>
 9<body>
10Hello, World Wide Web!
11This is my first website.
12
13About me
14
15I'm a Python programmer and a bug collector.
16
17Random facts
18
19I don't just like emoji,
20I love emoji!
21
22My most-used emoji are:
23    1. 🐞
24    2. 🐍
25    3. 👍
26
27Links
28
29My favorite websites are:
30    * realpython.com
31    * python.org
32    * pypi.org
33</body>
34</html>
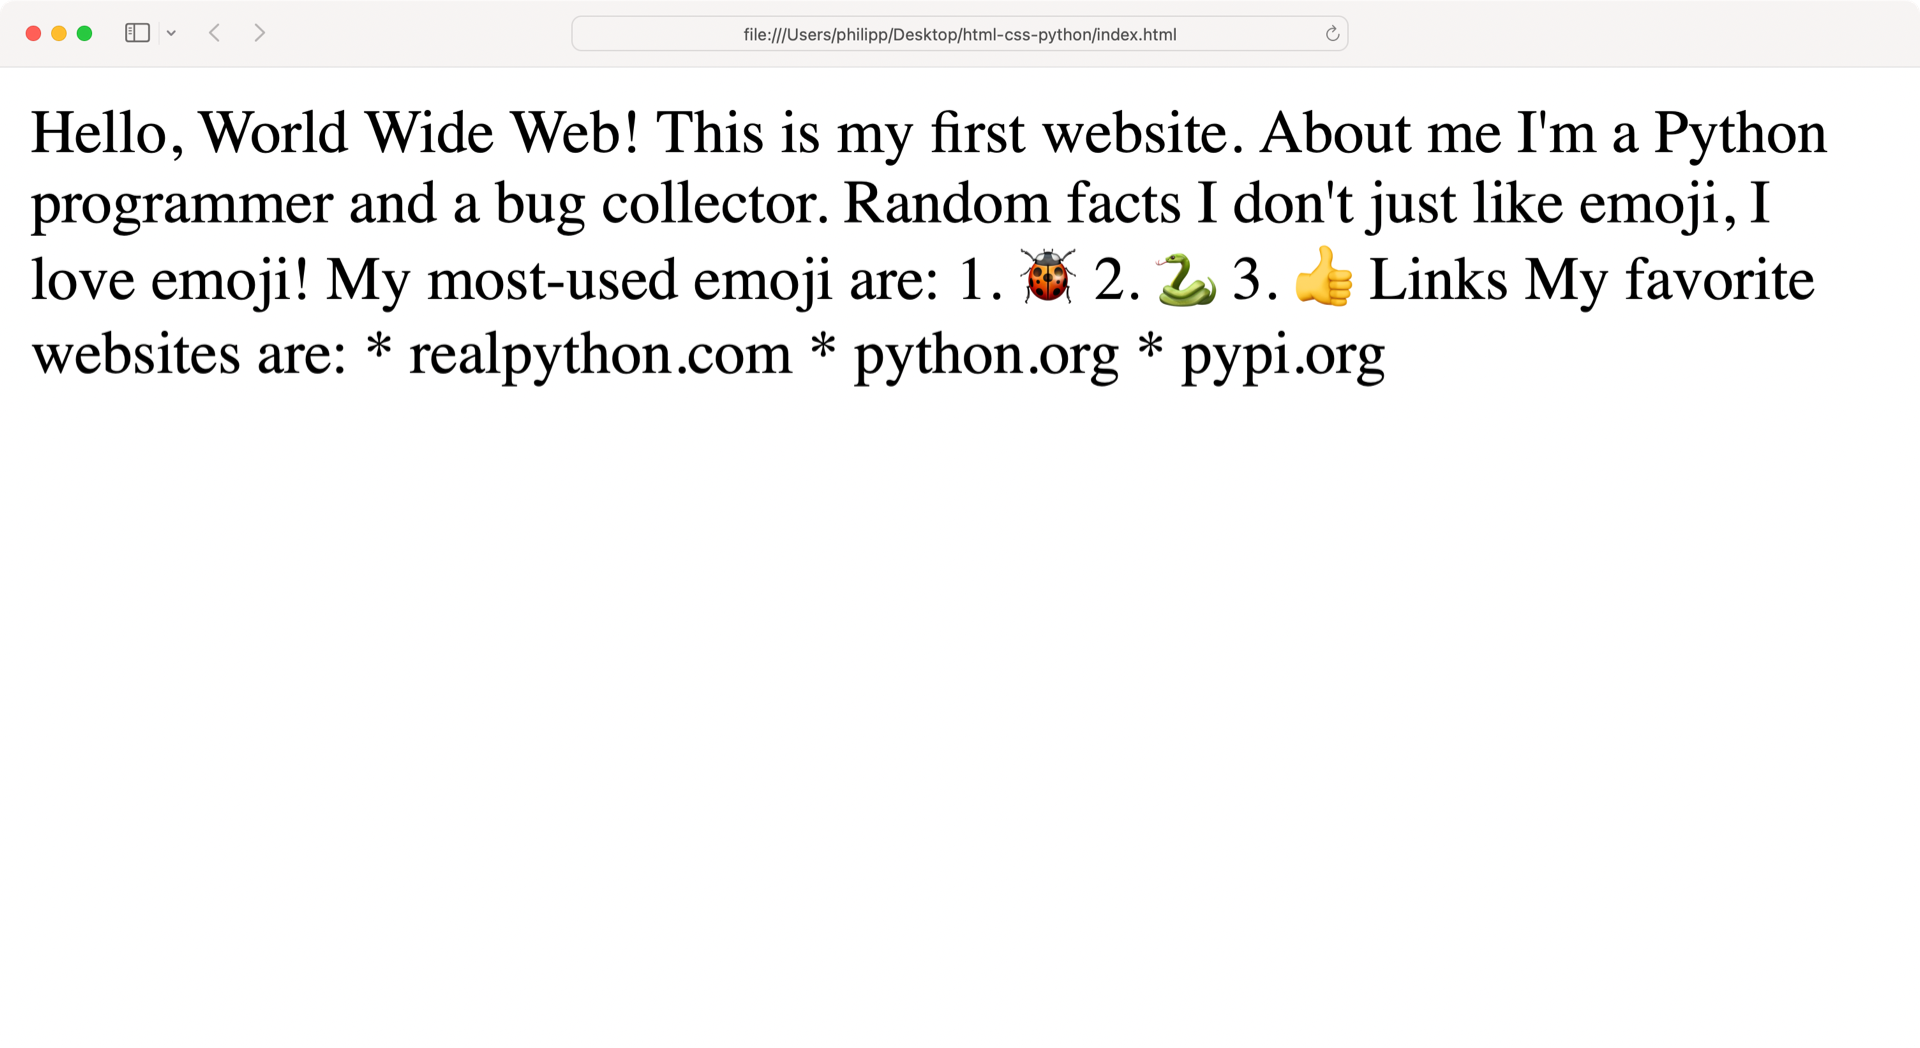
When you open the website in your browser, it seems that the browser didn’t recognize any whitespace at all.
Although you distributed your content on multiple lines inside <body>, the browser displays everything as one continuous line:
As a Python developer, you know that whitespace is a vital ingredient in writing beautiful Python code. The indentation of your Python code makes a difference in how Python executes your code.
Without any additional adjustments, browsers collapse multiple spaces, line breaks, or indentation to one space character.
To format your content differently, you must provide further information to the browser.
Go ahead and structure index.html by adding HTML tags to your content:
 1<!-- index.html -->
 2
 3<!DOCTYPE html>
 4<html lang="en">
 5<head>
 6    <meta charset="utf-8">
 7    <title>Am I HTML already?</title>
 8</head>
 9<body>
10<h1>Hello, World Wide Web!</h1>
11<p>This is my first website.</p>
12
13<h2>About me</h2>
14<p>I'm a Python programmer and a bug collector.</p>
15
16<h3>Random facts</h3>
17<p>I don't just <em>like</em> emoji,<br>
18I <strong>love</strong> emoji!</p>
19<p>My most-used emoji are:</p>
20<ol>
21    <li>🐞</li>
22    <li>🐍</li>
23    <li>👍</li>
24</ol>
25
26<h2>Links</h2>
27<p>My favorite websites are:</p>
28<ul>
29    <li>realpython.com</li>
30    <li>python.org</li>
31    <li>pypi.org</li>
32</ul>
33</body>
34</html>
By wrapping your text in HTML blocks, you give the browser additional information about your intentions for the content. First, have a look at the HTML elements that wrap bigger chunks of text:
| Line | HTML Element | Description |
|---|---|---|
| 10 | <h1> |
Main headline of your website |
| 11 | <p> |
Paragraph, to structure text and related content |
| 13 | <h2> |
Second-level headline, nested below <h1> |
| 16 | <h3> |
Third-level headline, nested below <h2> |
| 20 | <ol> |
Ordered list, typically rendered as a numbered list |
| 28 | <ul> |
Unordered list, typically rendered with bullets (•) |
You can nest headline elements six levels deep.
While you usually only have one <h1> element, you may have multiple <h2> to <h6> tags.
Headline elements section your HTML document and are vitally important for screen readers.
For example, readers may want to jump from headline to headline to navigate your content.
To write valid and accessible HTML, you must ensure that you don’t skip a headline level in your code.
You can think of the headline tags like doors that open onto different floors of a building.
One floor can have multiple exits to other floors.
But remember, you can’t build a third floor if you don’t have a second floor yet.
In other words, there can never be an <h3> element on your page unless you’ve first declared <h2>.
Some of the HTML elements that you used above contain text only. Others contain additional HTML elements that structure the content further:
| Line | HTML Element | Description |
|---|---|---|
| 17 | <em> |
Emphasizes content |
| 18 | <strong> |
Indicates important content |
| 21 | <li> |
List item, must be contained in a list element |
All HTML tags convey meaning. Therefore, it’s vitally important to carefully choose which markup you use for portions of your content. When you use the right semantics, then you enable everybody to consume your content the way that you intended. You make your website accessible for all:
The Web is fundamentally designed to work for all people, whatever their hardware, software, language, location, or ability. When the Web meets this goal, it is accessible to people with a diverse range of hearing, movement, sight, and cognitive ability. (Source)
Some HTML elements are pretty straightforward.
For paragraphs, you use <p>.
Other elements are a bit harder to grasp:
Kushagra Gour provides a great summary in his blog entry Strong vs Em:
If it’s just visual importance, you want
strong. If it alters the sentence meaning, useem.
In other words, em means that you would emphasize the word while speaking. For example, if someone said, “You don’t look bad,” you might wonder, “But do I smell bad?” The placement of emphasis is key to the meaning of the sentence.
If you simply want to draw the reader’s attention to a piece of vocabulary, for example, then you’d probably want to use strong instead.
When in doubt, don’t hesitate to search for HTML names on the Web. You’ll find discussions and usage notes about any HTML element.
Additionally, your browser’s default styling of HTML can give a decent impression by styling elements differently:
With markup, you add meaning to your website’s content. Writing semantically correct HTML is important for understanding your content.
Using proper semantics in your HTML document isn’t just helpful for the browser. It also makes the rendered HTML page accessible for users who consume your content with text-to-speech software.
If you want to learn more about modern HTML, then HTML5 Doctor is a great resource. To learn more about accessibility, you can check out Google’s course on making the Web accessible to all.
Links and Images
Jumping from one website to another is an essential part of the Internet. These references are called hyperlinks, commonly referred to as links. Without links, websites would exist in a silo, and you could only access them if you knew the web address.
Also, you wouldn’t be able to navigate among multiple pages of a website if you didn’t have links that connected the pages. To connect the HTML documents that you’ve created so far, add a navigation menu to your HTML source code:
<!-- index.html-->

<!DOCTYPE html>
<html lang="en">
<head>
    <meta charset="utf-8">
    <title>Am I HTML already?</title>
</head>
<body>
<nav>
    <a href="emoji.html">Emoji</a>
</nav>
<!-- ... -->
</body>
</html>
With the <nav> element, you declare a section that provides navigation.
Inside of <nav>, you add a link with an <a> tag, which is short for anchor.
The href attribute stands for Hypertext Reference, containing the link’s target.
With relative links, you can reference files in your directory tree. You may expect to see a URL whenever you have a link, but that’s not the case with relative links.
In this case, you link to a file named emoji.html.
The browser understands that it can find emoji.html in the same directory and completes the full URL for you.
That way, you don’t need to worry about changing any absolute paths when you decide to deploy your web project at some point.
So far, emoji.html doesn’t exist.
To fix this, create a new file named emoji.html next to index.html:
<!-- emoji.html-->

<!DOCTYPE html>
<html lang="en">
<head>
    <meta charset="utf-8">
    <title>My favorite emoji</title>
</head>
<body>
<nav>
    <a href="index.html">Home</a>
</nav>
<h1>My favorite emoji</h1>
<p>I don't just <em>like</em> emoji,<br>
I <strong>love</strong> emoji!</p>
<p>Here's a list of my most-used emoji:</p>
<ol>
    <li>🐞</li>
    <li>🐍</li>
    <li>👍</li>
</ol>
</body>
</html>
The structure of emoji.html is similar to index.html.
The content of <body> in emoji.html is almost identical to the random facts section of index.html, except that you changed the headline and moved it up one level to be <h1>.
At the top of <body>, you also have a <nav> element.
This time, however, you’re linking to index.html.
Next, create a new folder named images/ inside of your project directory and add a file named gallery.html:
 1<!-- images/gallery.html -->
 2
 3<!DOCTYPE html>
 4<html lang="en">
 5<head>
 6    <meta charset="utf-8">
 7    <title>Image gallery</title>
 8</head>
 9<body>
10<nav>
11    <a href="../index.html">Home</a>
12    <a href="../emoji.html">Emoji</a>
13</nav>
14<h1>Image gallery</h1>
15</body>
16</html>
You’ll add some images to gallery.html in a moment.
But first, have a look at lines 11 and 12, where you link to your other pages.
Because index.html and emoji.html are one folder above gallery.html, you must prefix the link target with two dots (..) and a slash (/).
For more convenient access, you can also add a link to your gallery in the navigation menu of index.html:
<!-- index.html -->

<!DOCTYPE html>
<html lang="en">
<head>
    <meta charset="utf-8">
    <title>Am I HTML already?</title>
</head>
<body>
<nav>
    <a href="emoji.html">Emoji</a>
    <a href="images/gallery.html">Gallery</a>
</nav>
<!-- ... -->
You can also link to your gallery in emoji.html:
<!-- emoji.html -->

<!DOCTYPE html>
<html lang="en">
<head>
    <meta charset="utf-8">
    <title>My favorite emoji</title>
</head>
<body>
<nav>
    <a href="index.html">Home</a>
    <a href="images/gallery.html">Gallery</a>
</nav>
<!-- ... -->
If you add a link to an HTML page, then you always have to think about navigating there from the file that you’re in right now.
The gallery.html file is one directory below index.html in a folder named images/.
So when you’re linking to gallery.html, then you need to include the subfolder in the link, which you’ve done above.
Relative links are useful for linking pages of your website. When you want to add external links, then you use absolute links:
<!-- index.html -->

<!-- ... --->
<h2>Links</h2>
<p>My favorite websites are:</p>
<ul>
    <li><a href="https://www.realpython.com">realpython.com</a></li>
    <li><a href="https://www.python.org">python.org</a></li>
    <li><a href="https://www.pypi.org">pypi.org</a></li>
</ul>
<!-- ... --->
Instead of linking to HTML files, you’re linking to absolute web addresses in your list of favorite websites. These links are the same ones that you’d type into your browser’s address bar.
Hop to the browser and navigate around your website with the links that you just added:
Links aren’t just handy for connecting the pages of your website—they’re a vital part of the Internet’s infrastructure. If you want to learn more about links, then check out this HTML anchors tutorial.
Another vital element of the Web is images. Without the ability to share vacation pictures and cat GIFs, the Internet would be dull.
You attach images to your HTML document with an <img> element that contains an src attribute.
Just like with href in a link, you reference the image source in src.
Additionally, you should always use the alt attribute to add alternative text that describes the image.
That way, you make your website accessible to people using screen readers.
Update gallery.html and link to three images:
<!-- images/gallery.html -->

<!DOCTYPE html>
<html lang="en">
<head>
    <meta charset="utf-8">
    <title>Image Gallery</title>
</head>
<body>
<nav>
    <a href="../index.html">Home</a>
    <a href="../emoji.html">Emoji</a>
</nav>
<h1>Image Gallery</h1>
<img src="sky_1.png" alt="Cloudy sky.">
<img src="sky_2.png" alt="Sun shining through a cloudy sky.">
<img src="sky_3.png" alt="Sky with almost no clouds.">
</body>
</html>
You’ll find the sky images inside of the images/ folder after downloading the materials by clicking the code below:
Free Bonus: Click here to download the supplemental materials for this tutorial, including a time-saving HTML template file.
If you use your own images, then you need to adjust the filenames accordingly.
Don’t forget to also update the alt text to describe the content of the pictures to make your images accessible.
The alt text is broadly comparable to docstrings in Python.
While a docstring may describe the purpose of an object, the alt text describes the content of an image.
Just like a docstring, an alt text should end with a dot (.).
Adding additional information to your images is extra work, but it’s worth doing. If there’s a cute dog in a picture, everybody deserves to know that there’s a cute dog in the picture. In case you need any convincing, head over to Alt-texts: The Ultimate Guide on axess lab.
When you open gallery.html in the browser, your page should look similar to this:
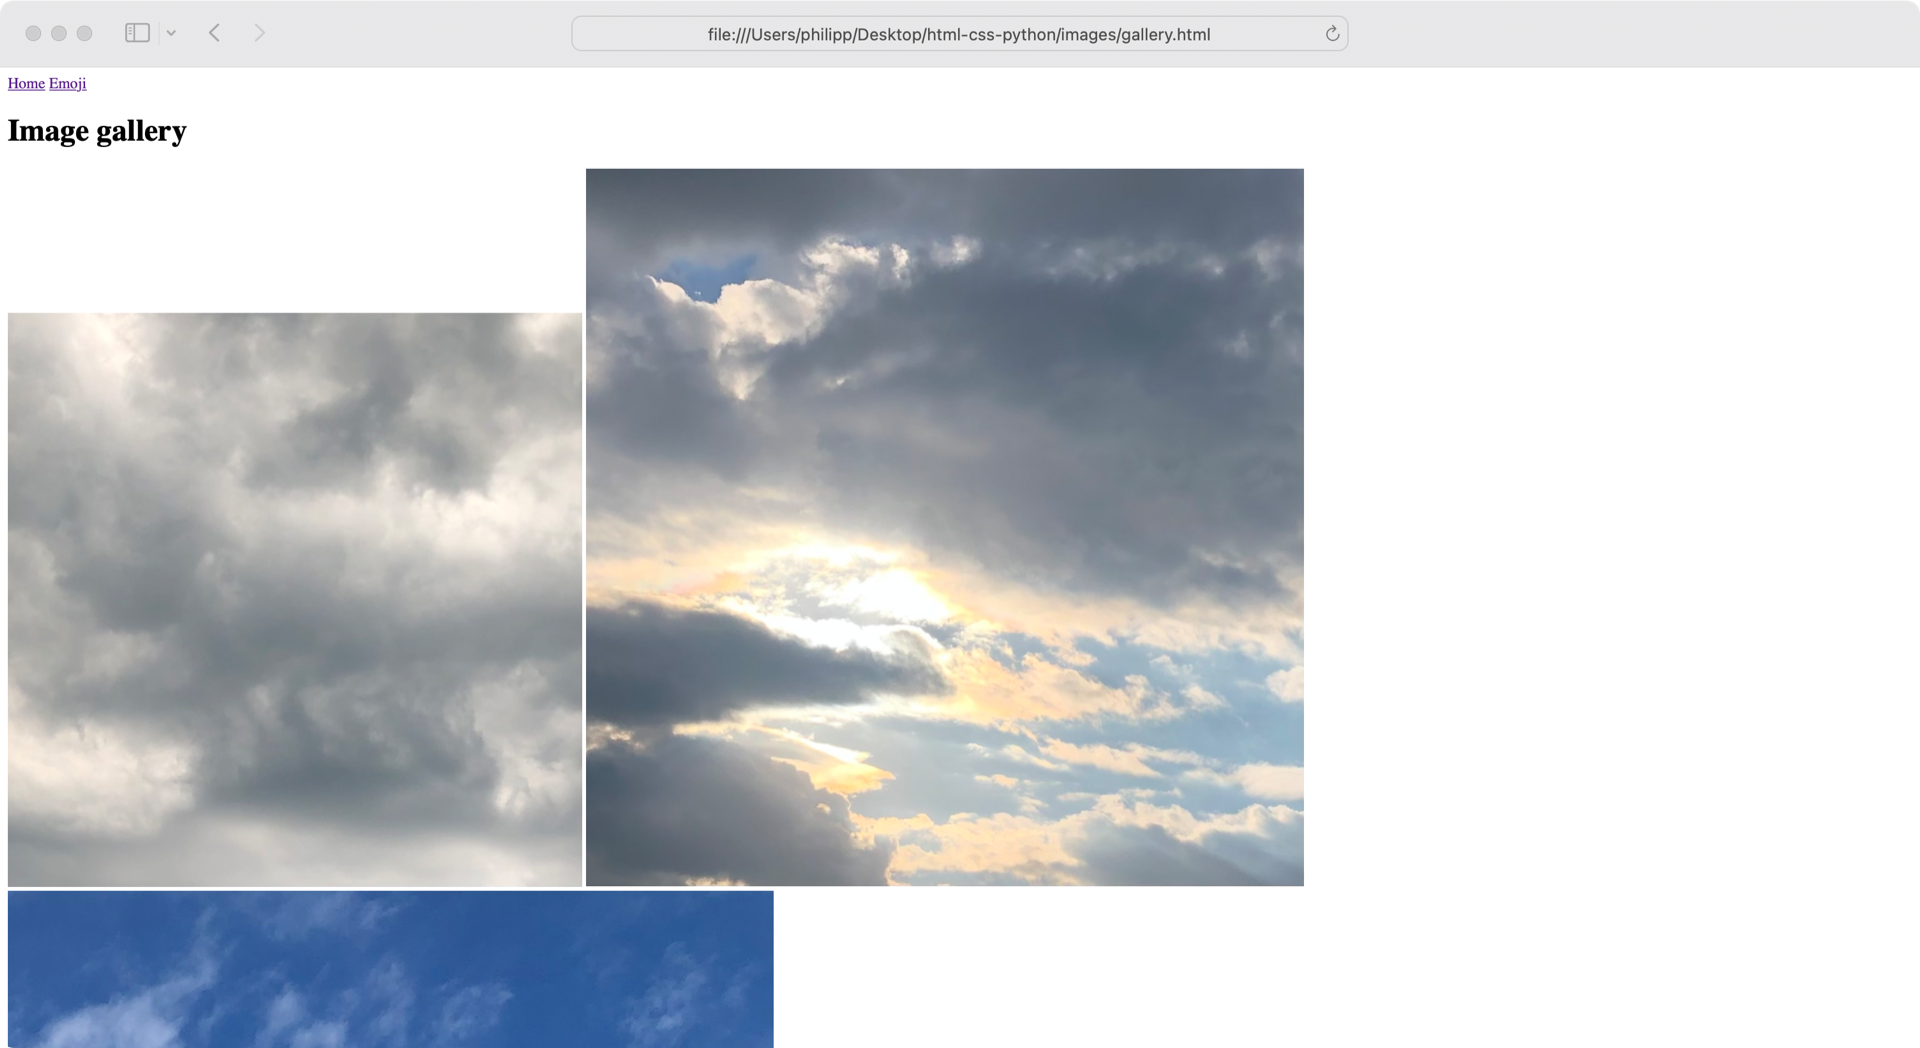
Images are a great way to make your website more visually appealing. However, the image gallery is a bit all over the place, and without any additional styling, the website looks rather old-school. It’s time to change that!
In the next section, you’ll add styling rules to your HTML and gain better control over how the elements on your website look.
Style Your Content With CSS
When you open a plain HTML file in the browser, the browser adds some styling by default. That’s why you were able to differentiate the elements in the previous section although you didn’t add any styling yourself.
That’s basically a service from the browser to you as a human. But strictly speaking, when you write HTML, you only define the markup of your website. Pure HTML doesn’t provide any styling for the elements on your page. To style elements, you need to add CSS.
CSS stands for Cascading Style Sheets. As you’ll see later, you can combine and nest your CSS styling rules, hence the name cascading style sheets.
Just like HTML, it’s a cornerstone technology of the Internet. It helps you to separate the look of your website from the actual content:
In addition to having good semantics and an attractive layout, your content should make logical sense in its source order — you can always place it where you want using CSS later on, but you should get the source order right to start with, so what screen reader users get read out to them will make sense. (Source)
In this section, you’ll learn how to take control of your website’s styling by adding CSS.
Add Color to Your Website
So far, you’ve only used the browser to load your HTML file. But web browsers are powerful tools, and they can help you tremendously when you develop a website.
You can investigate any website with the developer tool pane of your browser. Especially when you work with CSS, your browser’s developer tools come in handy:
Note that the changes in your developer tools don’t persist.
When you reload your page, all changes are gone.
So once you’re happy with your style adjustments, you need to copy and paste the code into a <style> tag in your HTML file.
Open index.html and add the <style> element inside of <head>:
<!-- index.html -->

<!DOCTYPE html>
<html lang="en">
<head>
    <meta charset="utf-8">
    <title>Am I HTML already?</title>
    <style>
        body {
            background-color: rgb(20, 40, 60);
            color: rgb(240, 248, 255);
        }

        a {
            color: rgb(255, 111, 111);
        }
    </style>
</head>

<body>
    <!-- ... -->
</body>
</html>
With the <style> element, you can add CSS code to your HTML document.
Although browsers aren’t strict about it, you should place the <style> element inside of <head> only.
Otherwise, the browser might try to render elements before applying any CSS rules, which can cause a flash of unstyled content.
The content of <style> isn’t HTML code, but CSS.
With CSS, you define rules on how to style elements on the page.
With selectors, you define which elements you want to target, followed by a declaration block.
In the CSS code above, you’re using type selectors to target <body> and all <a> elements.
You’ll use some other kinds of CSS selectors later in the tutorial.
If you want to learn more about CSS selectors already, then head over to Mozilla’s CSS selectors page.
The declaration block is delimited by an opening brace ({) and a closing brace (}).
You separate the declarations inside a block with semicolons (;).
The declaration itself is structured in two parts:
- Property: The identifier defining the feature
- Value: The description of how the feature should be handled
The property and the value are separated by a colon (:).
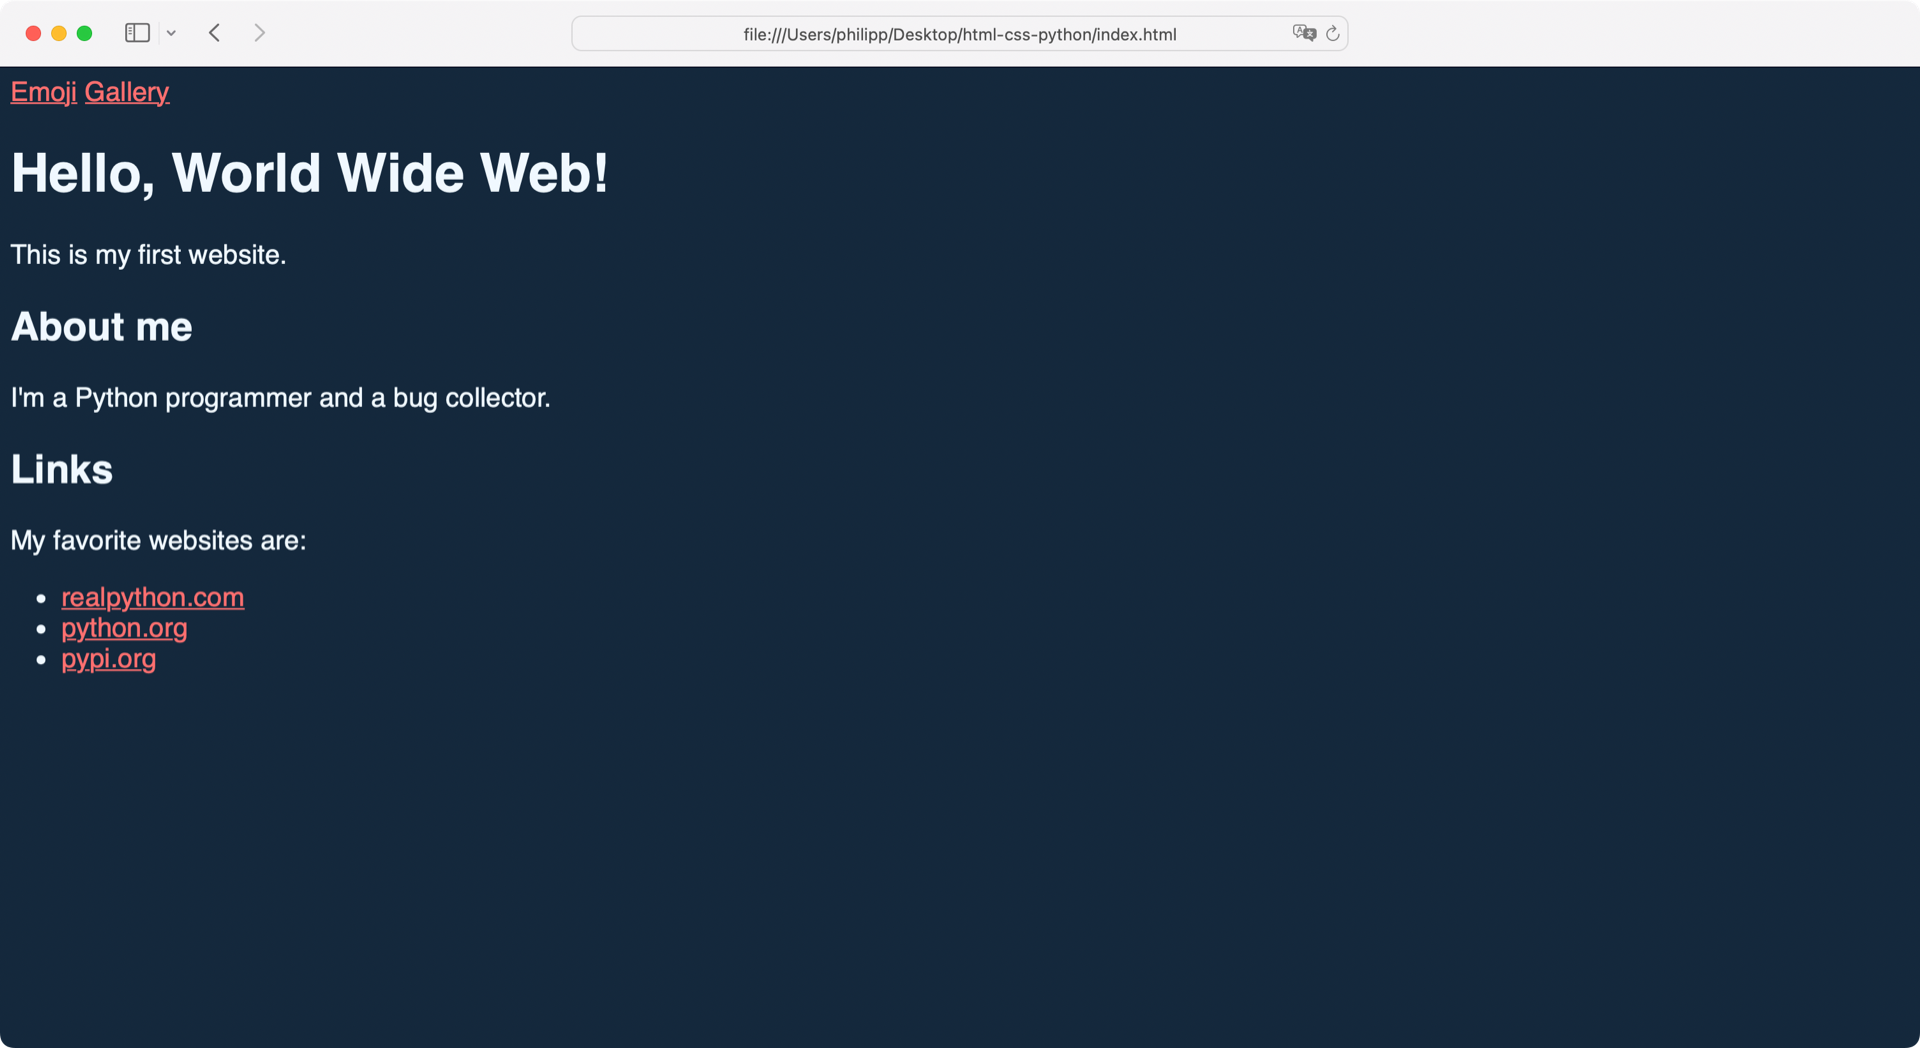
In the example above, you’re changing the background color of <body> to a dark blue and the text to a very light gray by specifying their RGB values.
In the second CSS ruleset, you’re coloring all links in a modern salmon hue.
Colors are an important part of controlling the look and feel of your website. In CSS, you have multiple ways of describing a color. You can check out Smashing Magazine’s guide to modern CSS colors to expand your knowledge about the use of colors in CSS.
Note: There are more than a hundred different properties that you can use and plenty of values that you can assign to them. But just like with Python, the more CSS you write, the more you learn about its capabilities, quirks, and general syntax.
Besides the selection of colors, you can change the face of your website with fonts.
You already changed the color of the text.
Next, adjust the text size of body with the font-size property:
<!-- index. html -->

<!-- ... -->
<style>
    body {
        background-color: rgb(20, 40, 60);
        color: rgb(240, 248, 255);
        font-size: 1.3em;
    }

    a {
        color: rgb(255, 111, 111);
    }
</style>
<!-- ... -->
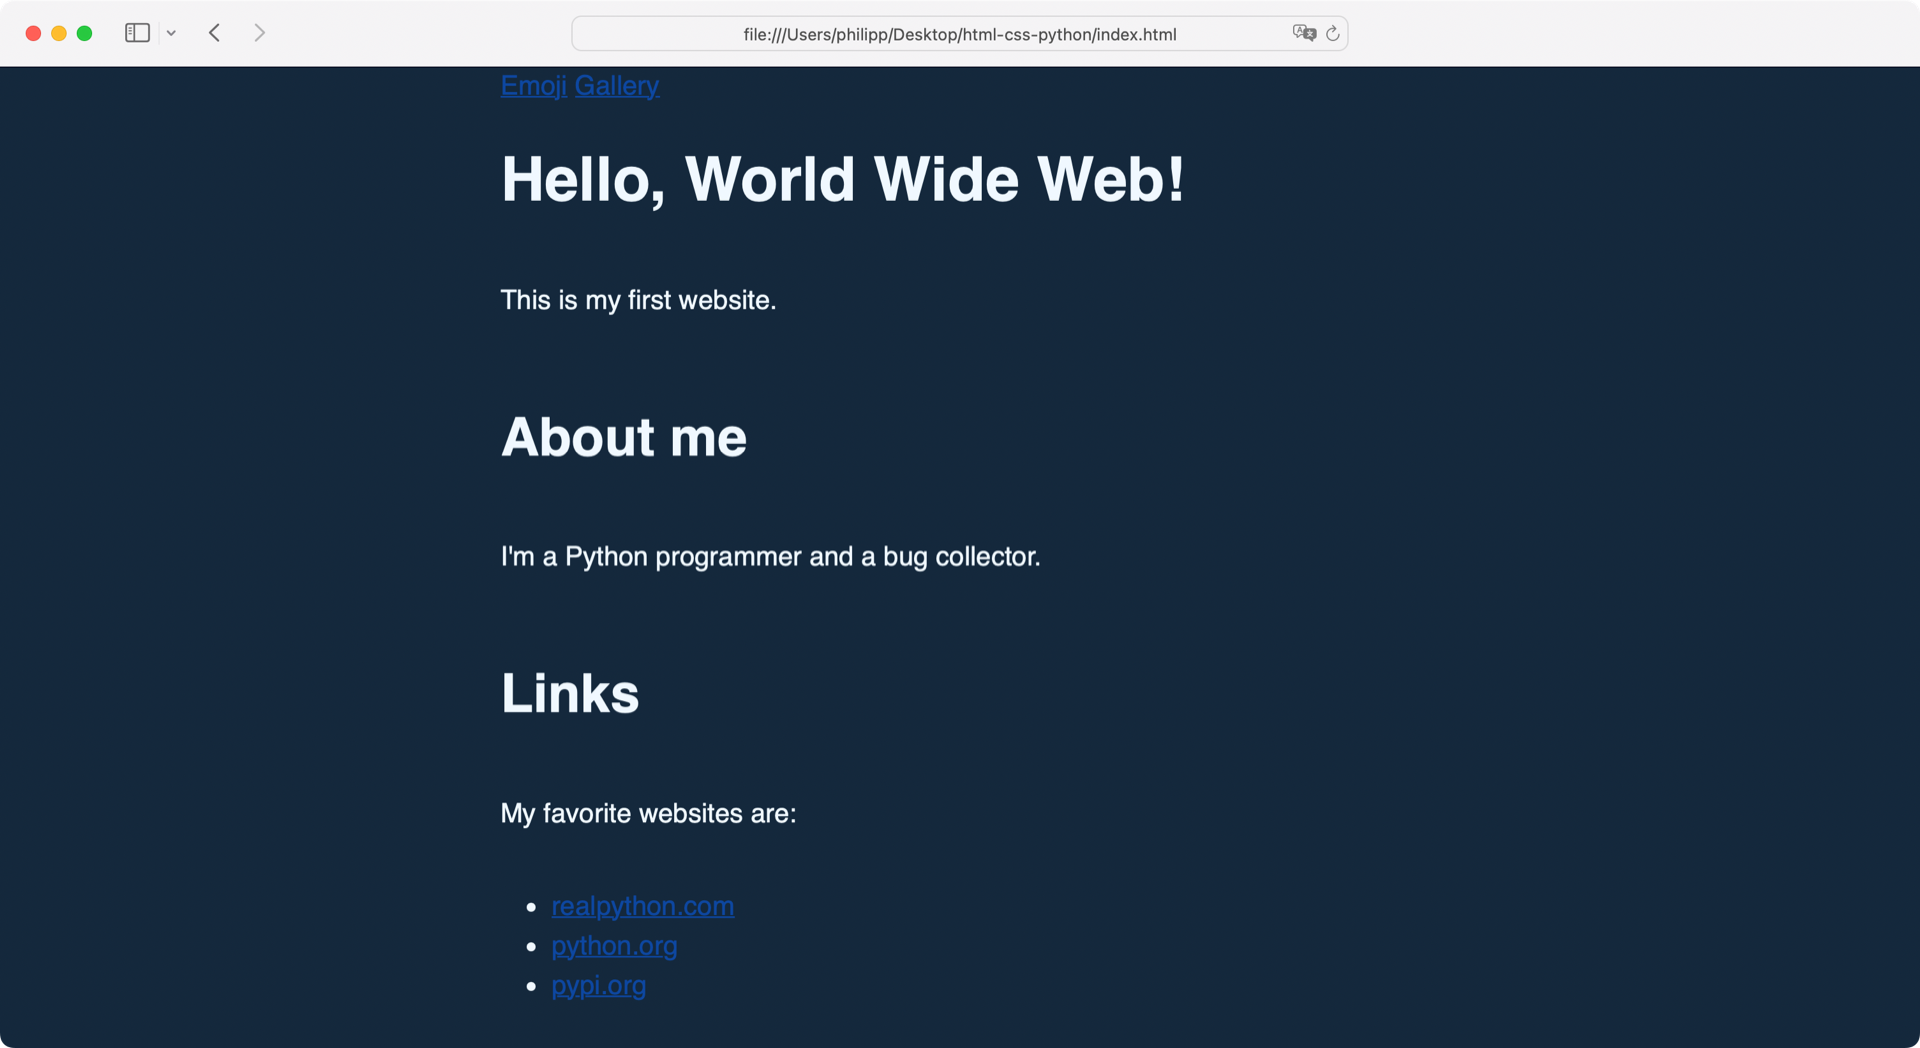
With font-size: 1.3em; you tell the browser to display the text 1.3 times bigger than the font size of the parent element.
The parent element of <body> is <html>, so the text will be displayed 1.3 times larger than the default font size in a browser.
The default font size is usually sixteen pixels, so the text will be displayed at a size of around twenty-one pixels.
You could define the font size with pixels directly.
However, it’s common to use either percentages or em for text sizes:
Named after the letter “M,” the em unit has a long-standing tradition in typography where it has been used to measure horizontal widths. (Source)
Back when you had to cast letters into metal blocks, the letter M usually took the whole horizontal width of the cast block.
In CSS, you can use em for vertical lengths too, and it’s a good unit for creating scalable designs.
That means your users can zoom in on your website without breaking the design.
This is important when users want to increase the font size to better read your content or when they visit your website from a mobile device.
Pixels and em are only two of many length units in CSS that you can use.
When you start focusing on designing your website, it’s worth having a look at these units and playing around with different types of units.
Besides the size of the text, the font that you’re displaying the text in is another cornerstone that impacts the design of your website tremendously.
Change the Font
Fonts are a phenomenal tool for changing the character of your documents. When using fonts on your website, you have two options:
- Rely on the fonts your visitor has installed on their system.
- Load custom web fonts from either your server or external resources.
With either option, it’s a good idea to define a font stack.
When you list more than one font for font-family, the browser then tries to load the fonts from left to right:
<!-- index. html -->

<!-- ... -->
<style>
    body {
        background-color: rgb(20, 40, 60);
        color: rgb(240, 248, 255);
        font-family: "Helvetica", "Arial", sans-serif;
        font-size: 1.3em;
    }

    a {
        color: rgb(255, 111, 111);
    }
</style>
<!-- ... -->
When you declare a font stack as shown above, the browser first tries to load the Helvetica typeface. If the browser can’t find a font in the font stack, then it continues by trying to load the next fallback font. In this case, the browser will load any sans-serif font if neither Helvetica nor Arial is present.
Choosing the right font for your project is a good start to making your content comprehensible. But keep in mind that besides the font, there are other factors that influence the legibility of your texts. You can play around with the look and feel of your web typography by adjusting the font size, line height, and colors. The more readable your texts are, the more accessible they are for everyone!
Note: You can sort your CSS properties any way you like. An alphabetical order can be more maintainable in the long run, while grouping properties by their functionality might be more intuitive to write. Some CSS developers even sort their CSS properties by length.
Open index.html in your browser and have a look at which font displays for you:
You can use your browser’s developer tools to investigate which font was loaded. What if it’s not Helvetica or Arial? Hop to the comments below and let the Real Python community know which font your system loads!
If you want to have more control over the displayed font, then you need to load custom web fonts. How to use @font-face in CSS is a great guide on implementing custom web fonts on your website.
With the CSS that you’ve added to your HTML, you’re only scratching the surface of designing your website. There are almost infinite ways of styling your content with CSS. If you want to dive in deeper, then you can check out Mozilla’s CSS reference.
Separate Your Concerns
You added the CSS code from the previous section directly into index.html with the help of the <style> element.
If you wanted to style emoji.html the same way, then you’d need to copy and paste the code.
As a Python developer, you know that copy and pasting code isn’t the best idea. You end up with the same code in two places, which makes updating your code cumbersome.
In your Python code, you can import modules to prevent repeating yourself. HTML offers similar functionality to load external resources into your HTML code. This allows you to load an external CSS file and refer to this style sheet from your HTML files.
Create a new file named style.css next to index.html and emoji.html.
Then, cut the content of <style> from index.html and paste it into style.css:
 1/* style.css */
 2
 3body {
 4    background-color: rgb(20, 40, 60);
 5    color: rgb(240, 248, 255);
 6    font-family: "Helvetica", "Arial", sans-serif;
 7    font-size: 1.3em;
 8}
 9
10a {
11    color: rgb(255, 111, 111);
12}
Note that your CSS file contains only the CSS declarations.
In a CSS file, you don’t need the <style> tag that you used to wrap your CSS code in index.html.
Also, spot the syntax of CSS comments in line 1.
A forward slash followed by an asterisk (/*) indicates the start of a comment.
You can distribute a CSS comment over multiple lines.
You close the comment with another asterisk followed by a forward slash (*/).
Now you can reference style.css in the head of your index.html file:
<!-- index.html -->

<!DOCTYPE html>
<html lang="en">
<head>
    <meta charset="utf-8">
    <title>Am I HTML already?</title>
    <link rel="stylesheet" href="style.css">
    <!-- Removed: <style> ... </style> -->
</head>

<!-- ... -->
The <link> element is similar to the anchor tag (<a>).
It also contains an href attribute that defines the link.
However, it’s an empty element that contains attributes only and won’t render a clickable hyperlink.
Add the stylesheet link to emoji.html as well:
<!-- emoji.html -->

<!DOCTYPE html>
<html lang="en">
<head>
    <meta charset="utf-8">
    <title>My favorite emoji</title>
    <link rel="stylesheet" href="style.css">
</head>

<!-- ... -->
To reflect the changes in gallery.html too, add the relative link to style.css:
 1<!-- gallery.html -->
 2
 3<!DOCTYPE html>
 4<html lang="en">
 5<head>
 6    <meta charset="utf-8">
 7    <title>Image Gallery</title>
 8    <link rel="stylesheet" href="../style.css">
 9</head>
10
11<!-- ... -->
Remember that style.css is one directory above gallery.html, which is in your images/ directory.
So instead of just linking to style.css, you must link to ../style.css.
Once you’ve updated the CSS references, have a look at your pages in the browser:
All your pages share the same styling now.
When you change the CSS code in style.css, you can see the changes appearing on all pages.
As a Python web developer, you’ll probably need to write a good bit of HTML yourself in web projects. For CSS, however, it’s fairly common to use external CSS frameworks to take care of your design.
A CSS framework provides you with ready-made CSS code. In order to use a CSS framework to its full advantage, you may need to adjust your HTML code to comply with its ruleset. But once you’ve gotten used to a CSS framework, it can save you the work of explicitly styling HTML elements in the long run.
One of the most popular CSS frameworks is Bootstrap. You’ll also encounter Simple.css or Bulma, including in Real Python tutorials on managing your to-do lists and creating a flashcards app.
Note: If you want to start your CSS designs from scratch, you can also load an external reset style sheet. By adding a reset style sheet before loading your styles, you reset all of the browser’s default styles. This gives you full control over styling any HTML element on your page.
You can add external, non-local CSS style sheets just like your local style sheet with the <link> element.
If you reference more than one style sheet on your website, the order matters.
You’ll investigate this behavior in a moment.
First, go ahead and add another style sheet link to your HTML pages.
Here’s the example code for index.html:
<!-- index.html -->

<!DOCTYPE html>
<html lang="en">
<head>
    <meta charset="utf-8">
    <title>Am I HTML already?</title>
    <link rel="stylesheet" href="https://cdn.simplecss.org/simple.css">
    <link rel="stylesheet" href="style.css">
</head>

<!-- ... -->
As the C in CSS implies, you can also cascade style sheets.
When you open index.html in your browser, you can see that the design has changed:
You combined the style rules of your local style.css and the external simple.css.
Play around with the order of how you load the external style sheets.
When you reload your pages, you’ll spot that the appearance of your website changes.
Similar to overwriting variables in Python, CSS properties overwrite each other. Generally speaking, the last value that’s applied to an element wins.
In this section, you learned that you can use an external style sheet instead of the <style> element.
There’s even a third way to add CSS rules to your HTML.
You can use a style HTML attribute to style HTML elements directly. This is called inline CSS styling.
Note: Inline CSS styling has its use cases. But when you start learning HTML and CSS, try to refrain from using it. In general, adding inline CSS is considered bad practice.
Being more explicit in connecting your CSS declarations with specific HTML elements can give you the control that you need to perfect your design. In the next section, you’ll learn how to style elements more flexibly with CSS classes.
Use Classes for Greater Flexibility
The CSS rules that you’ve set so far have only targeted generic HTML elements. But you can be much more specific with your CSS code when you set rules for HTML attributes.
Adding a class attribute to an HTML element enables you to use CSS class selectors to style elements based on their class values.
An essential characteristic of CSS classes is that they allow you to group common elements and apply a set of rules to all of them in one go, and then potentially update them while keeping the style consistent.
For example, you can define a class that applies rounded corner to images. But instead of targeting all image elements by using the img name, you can assign a class to only those images that should have rounded corners.
This gives you the additional advantage of being able to add rounded corners to other elements by giving them the same class.
To learn how CSS class selectors work, adjust the code in gallery.html so it looks like this:
 1<!-- images/gallery.html -->
 2
 3<!-- ... -->
 4<head>
 5    <meta charset="utf-8">
 6    <title>Image Gallery</title>
 7    <link rel="stylesheet" href="https://cdn.simplecss.org/simple.css">
 8    <link rel="stylesheet" href="../style.css">
 9</head>
10
11<!-- ... -->
12
13<h1>Image Gallery</h1>
14<div class="gallery rounded">
15    <img src="sky_1.png" alt="Cloudy sky." class="rounded">
16    <img src="sky_2.png" alt="Sun shining through a cloudy sky." class="rounded">
17    <img src="sky_3.png" alt="Sky with almost no clouds." class="rounded">
18</div>
19<!-- ... -->
First, remember to add a link to your external style sheets.
Don’t forget to prepend the two dots to link to ../style.css because the style sheet is one folder above gallery.html.
Then, you’re wrapping the <img> elements in a <div> block.
The <div> element is a generic element for structuring your page.
It doesn’t contain any semantic meaning, and you should only use it when no other HTML tag is more appropriate to use.
You also add class attributes to your HTML elements.
In line 14, you’re even chaining classes in a space-separated list.
This means that you apply two CSS classes to the <div> element.
In contrast, the <img> elements in lines 15 to 17 only contain one CSS class.
To create the classes, head over to style.css and add this CSS code:
 1/* style.css */
 2
 3/* ... */
 4
 5.gallery {
 6    background: rgba(255, 255, 255, 0.2);
 7    padding: 1em;
 8}
 9
10.rounded {
11    border-radius: 15px;
12}
13
14.gallery img {
15    margin-right: 0.2em;
16    width: 150px;
17}
You refer to CSS classes in the HTML class attribute without a dot (.).
In your CSS code, however, you must add a dot at the beginning of a selector to specify that you’re targeting the class attributes.
If you want to read more about CSS selectors, then head over to Mozilla’s CSS selectors documentation.
In lines 6 and 7, you set the rules for .gallery, like a partly transparent background and a 1em padding to add space to all sides inside of the gallery element.
With the .rounded selector, you give all HTML elements that contain this class a rounded corner with a radius of fifteen pixels.
You can even chain your CSS selectors as you do in line 14.
With the space-separated selector list .gallery img, you’re adding a rule for all img elements inside an HTML element with the class gallery.
With your CSS declarations in lines 15 and 16, you give them some space to the right side with margin-right and make the gallery images 150 pixels wide.
With padding, margin, and border properties, you define the spacing of CSS elements.
You can think of these elements as boxes that have a certain space around them and space inside of them where the content is stored.
This concept is called the box model:
Everything in CSS has a box around it, and understanding these boxes is key to being able to create more complex layouts with CSS, or to align items with other items. (Source)
If you want to dive deeper into CSS, then learning about the box model is key. You can follow Mozilla’s learn to style HTML using CSS tutorial to get a better understanding of all the building blocks that CSS contains.
You can take off from here and explore the world of markup and design that HTML and CSS offer. But especially with HTML, you’ll soon notice that it’s a very verbose language, and it can be cumbersome to write it by hand. That’s where you can let your skills as a Python developer shine.
In the next section, you’ll learn how Python can help you to work with HTML files more effectively.
Handle HTML With Python
As a Python developer, you know that Python can be a great tool to automate tasks that you’d otherwise need to do by hand. Especially when working with large HTML files, the power of Python can save you some work.
Programmatically Write HTML
With all the opening and closing tags, HTML can be cumbersome to write. Luckily, Python is perfect to help you programmatically create large HTML files.
In this section, you’ll extend emoji.html to display more information about your favorite emoji.
Replace the ordered list with a table:
 1<!-- emoji.html -->
 2
 3<!-- ... -->
 4<h1>My favorite emoji</h1>
 5<p>I don't just <em>like</em> emoji,<br>
 6I <strong>love</strong> emoji!</p>
 7<p>Here's a table of my most-used emoji:</p>
 8
 9<table>
10    <thead>
11        <tr>
12            <th>#</th>
13            <th>Emoji</th>
14            <th>Name</th>
15        </tr>
16    </thead>
17    <tbody>
18        <tr>
19            <td>1.</td>
20            <td>🐞</td>
21            <td>Lady Beetle</td>
22        </tr>
23        <tr>
24            <td>2.</td>
25            <td>🐍</td>
26            <td>Snake</td>
27        </tr>
28        <tr>
29            <td>3.</td>
30            <td>👍</td>
31            <td>Thumbs Up Sign</td>
32        </tr>
33    </tbody>
34</table>
35<!-- ... -->
You define an HTML table with the <table> element and table rows with <tr>.
Just like a table in a spreadsheet, HTML tables can have a table head and a table body.
While using <thead> and <tbody> isn’t obligatory for a table to work, it’s good practice to add them to your table markup.
In your table head, you define three table columns by adding three <th> elements to the first row.
The table body contains the same number of columns and one or more rows.
For the table data cells, you use the same <td> element as you do in the table header.
The emoji table lists your three favorite emoji with their Unicode descriptions. Of course, nobody has only three favorite emoji!
Even with a moderate number like twelve favorite emoji, it’d be annoying to create the HTML table by hand. So you add Python into the mix!
Create a new Python file named emoji_table.py in your project directory, and let Python do the work for you:
# emoji_table.py

import unicodedata

all_emoji = "🐞🐍👍🎉🤩😂🐶🍿😎✨💬😘"
columns = ["#", "Emoji", "Name"]

table_head = f"<thead>\n<tr><th>{'</th><th>'.join(columns)}</th></tr>\n</thead>"

table_body = "\n<tbody>\n"
for i, emoji in enumerate(all_emoji, start=1):
    emoji_data = [f"{i}.", emoji, unicodedata.name(emoji).title()]
    table_body += f"<tr><td>{'</td><td>'.join(emoji_data)}</td></tr>\n"
table_body += "</tbody>\n"

print(f"<table>\n{table_head}{table_body}</table>")
With the help of the built-in unicodedata module and enumerate(), Python can programmatically build an emoji table for you.
Note: The newline symbols (\n) in the strings are optional. The browser will ignore any whitespace that’s more than one space. But using \n will make your HTML code a bit prettier.
Run emoji_table.py in your terminal, copy the HTML code, and paste it into emoji.html:
 1<!-- emoji.html -->
 2
 3<!-- ... -->
 4<h1>My favorite emoji</h1>
 5<p>I don't just <em>like</em> emoji,<br>
 6I <strong>love</strong> emoji!</p>
 7<p>Here's a table of my most-used emoji:</p>
 8
 9<table>
10<thead>
11<tr><th>#</th><th>Emoji</th><th>Name</th></tr>
12</thead>
13<tbody>
14<tr><td>1.</td><td>🐞</td><td>Lady Beetle</td></tr>
15<tr><td>2.</td><td>🐍</td><td>Snake</td></tr>
16<tr><td>3.</td><td>👍</td><td>Thumbs Up Sign</td></tr>
17<tr><td>4.</td><td>🎉</td><td>Party Popper</td></tr>
18<tr><td>5.</td><td>🤩</td><td>Grinning Face With Star Eyes</td></tr>
19<tr><td>6.</td><td>😂</td><td>Face With Tears Of Joy</td></tr>
20<tr><td>7.</td><td>🐶</td><td>Dog Face</td></tr>
21<tr><td>8.</td><td>🍿</td><td>Popcorn</td></tr>
22<tr><td>9.</td><td>😎</td><td>Smiling Face With Sunglasses</td></tr>
23<tr><td>10.</td><td>✨</td><td>Sparkles</td></tr>
24<tr><td>11.</td><td>💬</td><td>Speech Balloon</td></tr>
25<tr><td>12.</td><td>😘</td><td>Face Throwing A Kiss</td></tr>
26</tbody>
27</table>
28<!-- ... -->
With emoji_table.py, you can now expand your HTML emoji table to include all your favorite emoji.
If you want to make your table look a bit better, then you can add additional styling with the :nth-child() pseudo-class in style.css:
/* style.css */

/* ... */

th, tr:nth-child(even) {
    background-color: rgba(255, 255, 255, 0.2);
}

td:nth-child(1) {
    text-align: right;
}

td:nth-child(2) {
    text-align: center;
}
HTML tables are a great way to structure tabular data on your website. You can check out Mozilla’s documentation about HTML tables and styling tables to learn more about working with tables in HTML.
Although emoji_table.py helps you build larger tables, it’s still a complicated process.
Currently, you need to copy the terminal output into your HTML file.
That’s not ideal.
But now it’s time to explore other ways that Python can help you with your HTML code.
Create HTML Entities With Python
HTML comes with a big list of named character references that you can use to encode your texts in HTML.
So, for example, you could write the euro currency sign as the HTML entity € instead of the UTF-8 € character.
In the past, encoding characters like this was important because there was no way to type them directly. With the advent of UTF-8 character encoding, you can use the actual UTF-8 character instead. Most of the time, that’s even recommended because it’s more readable.
Still, there are situations where HTML encodings are the better choice. As a rule of thumb, you use HTML entities when characters:
- Are visually not distinguishable
- Interfere with HTML syntax
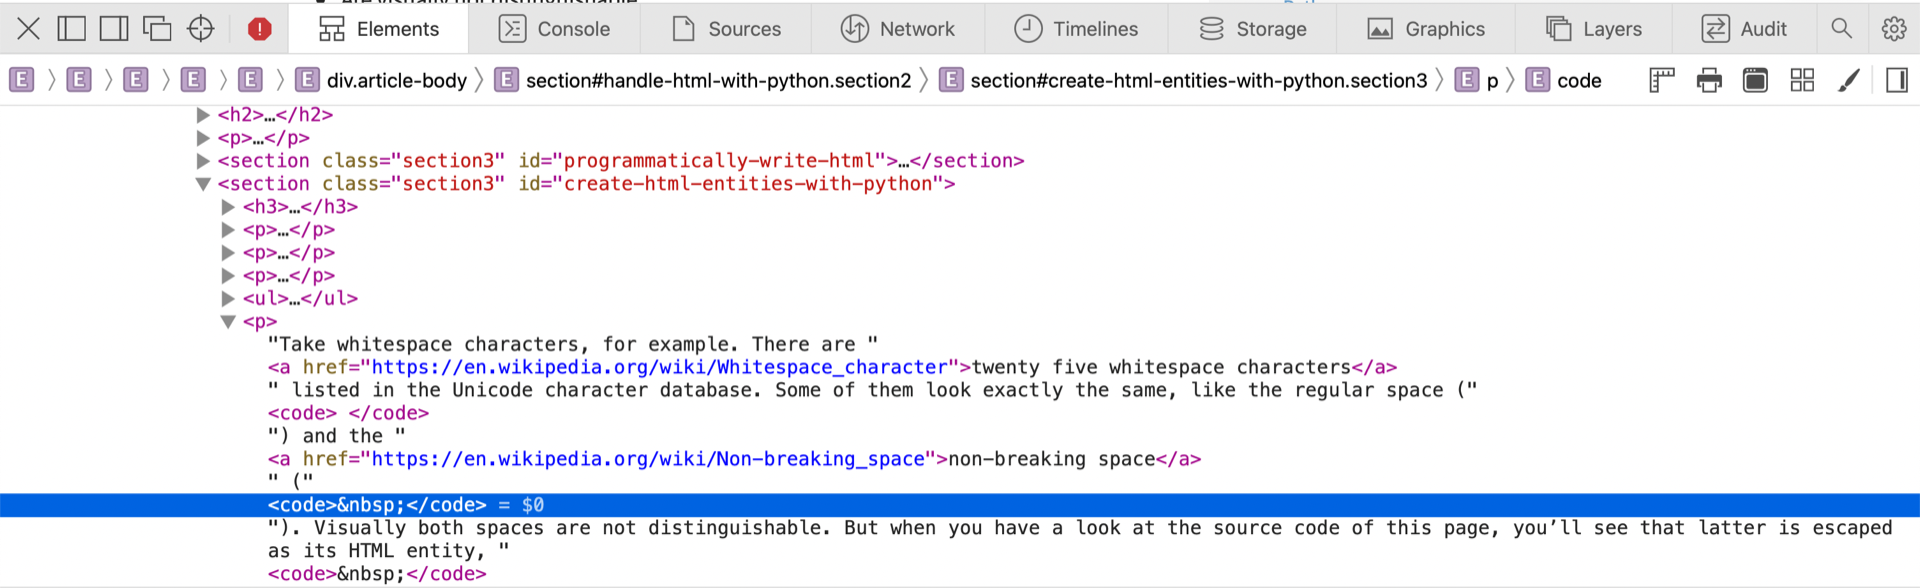
Take whitespace characters, for example.
There are twenty-five whitespace characters listed in the Unicode character database.
Some of them look exactly the same, like the regular space ( ) and the non-breaking space ( ).
Visually, the spaces are not distinguishable.
But when you have a look at the source code of this page, you’ll see that the latter is escaped as its HTML entity, :
If you want to display HTML tags on an HTML document, you also need to escape characters like the opening angle bracket (<) and the closing angle bracket (>).
Again, have a look at the source code of this tutorial and note how the angle brackets are escaped:

The opening angle brackets are escaped as <.
Closing angle brackets are escaped as >.
To see a full list of HTML entities, you can leverage Python’s built-in html module:
>>> import html
>>> html.entities.html5
{'Aacute': 'Á', 'aacute': 'á', 'Aacute;': 'Á', 'aacute;': 'á',
...
'zscr;': '𝓏', 'zwj;': '\u200d', 'zwnj;': '\u200c'}
The entities module of html defines four dictionaries.
One of them is html5, which maps the HTML-named character references to their Unicode character counterparts.
With html.entities.codepoint2name you can find the HTML entity name of a character:
>>> import html
>>> code_point = ord("€")
>>> code_point
8364

>>> html.entities.codepoint2name[cp]
'euro'
The codepoint of the euro (€) is 8364.
For 8364 the codepoint2name dictionary returns 'euro'.
To use the name in your HTML code, you must put an ampersand (&) before the name and a semicolon (;) after the name to get the valid € HTML entity.
Instead of remembering and writing the HTML entities yourself, you can let Python help you out.
Python’s html module also comes with a parser that’s handy when you want to dissect HTML documents.
Parse HTML With Python
When you need to read data from HTML files, then Python can assist you with the built-in html module as well.
In this section, you’ll build a primitive HTML parser using html.parser.
The script you’ll write will refer to the gallery.html file that you created earlier in this tutorial.
You can either revisit that part of the tutorial or download all the files by clicking the link below:
Free Bonus: Click here to download the supplemental materials for this tutorial, including a time-saving HTML template file.
Next to gallery.html, create a new Python file named parse_image_links.py:
# images/parse_image_links.py

from html.parser import HTMLParser

class ImageParser(HTMLParser):
    def handle_starttag(self, tag, attrs):
        for attr, val in attrs:
            if attr == "src" and tag == "img":
                print(f"Found Image: {val!r}")

with open("gallery.html", mode="r", encoding="utf-8") as html_file:
    html_content = html_file.read()

parser = ImageParser()
parser.feed(html_content)
When you feed an instance of Python’s HTMLParser with HTML data, the instance calls its handler methods if markup elements are found.
In the example above, you create a subclass of HTMLParser to look for any <img> elements with an src attribute in the code of gallery.html.
For the gallery.html file, the output looks like this:
Found Image: 'sky_1.png'
Found Image: 'sky_2.png'
Found Image: 'sky_3.png'
For your local file, which you can just look up in your editor, this might not be a big deal. But imagine the possibilities if you adjusted the script above to read the code from any given URL!
If Python’s html module has sparked your interest, then reading a practical introduction to web scraping in Python is a good next step.
For a more hands-on approach, you can also build a web scraper with Beautiful Soup.
Before you parse away, have a look at some other next steps in the last section of this tutorial.
Continue With HTML and CSS in Python
You can accomplish quite a bit with basic HTML and CSS. Working with HTML and CSS can become even more fun when you put a programming language like Python into the mix.
In this section, you’ll get an overview of technologies that you may explore to leverage your knowledge of HTML and CSS.
JavaScript
As you learned in this tutorial, HTML provides the structure of a website. With CSS, you add formatting and layout. That’s a great basis for creating websites.
Yet no introduction to HTML and CSS would be complete without mentioning JavaScript. JavaScript is an interpreted programming language that’s crucial for modern websites.
With JavaScript, you can add functionality to your web projects. For example, you can dynamically update HTML and CSS when a user interacts with your website.
Learning JavaScript is a good choice for any programmer who wants to get into web development. To dive deeper into JavaScript, head over to Mozilla’s learning area for JavaScript.
If you want to explore JavaScript from a Python programmer’s perspective, then check out Python vs JavaScript for Pythonistas.
Jinja
In this tutorial, you stored HTML markup in Python strings to create HTML code dynamically. When your web project evolves, then the mix of HTML and Python can grow complicated.
To separate concerns, it’s a good idea to work with templates. With templates, you can create building blocks for larger websites without duplicating your front-end code. That way, you can keep your HTML markup in template files and fill them with Python. The go-to template engine for Python is Jinja.
With Python and Jinja, you can dynamically create HTML code. But you don’t have to stop there. Anytime you want to create text files with programmatic content, Jinja can help you out.
If you want to learn how to build rich templates with Jinja, then check out Real Python’s primer on Jinja templating.
Flask
With basic knowledge about HTML and CSS, you’re well equipped to build your first real web applications. HTML and CSS take care of the front end that the user is interacting with. To load the content from the server, you need some kind of back end. That’s where web frameworks come into play.
Flask is a popular Python web framework that’s great for building web applications from scratch.
After you install the flask package with pip, then you start a Flask project by creating a Python file with just a few lines of code.
In other words, you start small and enhance your project step by step at your own pace.
You can follow the Flask by Example learning path to discover the basics of Python web development with the Flask microframework.
Django
Django is another popular Python web framework. Compared to Flask, Django provides you with a project structure when you start a new Django project. Without adding much code yourself, you can work with an admin back end and databases right away. The power of Django can give you a head start for bigger web projects, but navigating all the files can be overwhelming for beginners.
Luckily, you can find plenty of Django tutorials on Real Python to guide you. You can get started with Django by building a portfolio app or by building a personal diary web app. If you want to build a bigger project, then the Django social network series is perfect for you.
PyScript
PyScript is a new framework that allows you to run Python in the web browser. But don’t confuse it with web frameworks like Flask or Django:
PyScript is just HTML, only a bit (okay, maybe a lot) more powerful, thanks to the rich and accessible ecosystem of Python libraries. (Source)
If you’re intrigued, then give A First Look at PyScript: Python in the Web Browser a read.
Conclusion
No matter which path to becoming a Python web developer you choose, there’s no way around HTML and CSS. Both technologies are fundamental building blocks when you want to create websites.
Throughout this tutorial, you built a boilerplate HTML document to give you a head-start in your upcoming web projects.
Along the way, you learned how to:
- Structure a basic HTML file
- Show images and link to pages
- Style a website with CSS
- Format HTML with accessibility in mind
- Use Python to write and parse HTML code
Python, HTML, and CSS are a powerful trio that enables you to create small HTML documents and big web projects. But even if you’re not aiming for a career as a web developer, knowing a thing or two about HTML and CSS will help you understand the Web better.
Free Bonus: Click here to download the supplemental materials for this tutorial, including a time-saving HTML template file.
Watch Now This tutorial has a related video course created by the Real Python team. Watch it together with the written tutorial to deepen your understanding: HTML and CSS Foundations for Python Developers