You’ve just finished building your first Python command-line app. Or maybe your second or third. You’ve been learning Python for a while, and now you’re ready to build something bigger and more complex, but still runnable on a command-line. Or you are used to building and testing web applications or desktop apps with a GUI, but now are starting to build CLI applications.
In all these situations and more, you will need to learn and get comfortable with the various methods for testing a Python CLI application.
While the tooling choices can be intimidating, the main thing to keep in mind is that you’re just comparing the outputs your code generates to the outputs you expect. Everything follows from that.
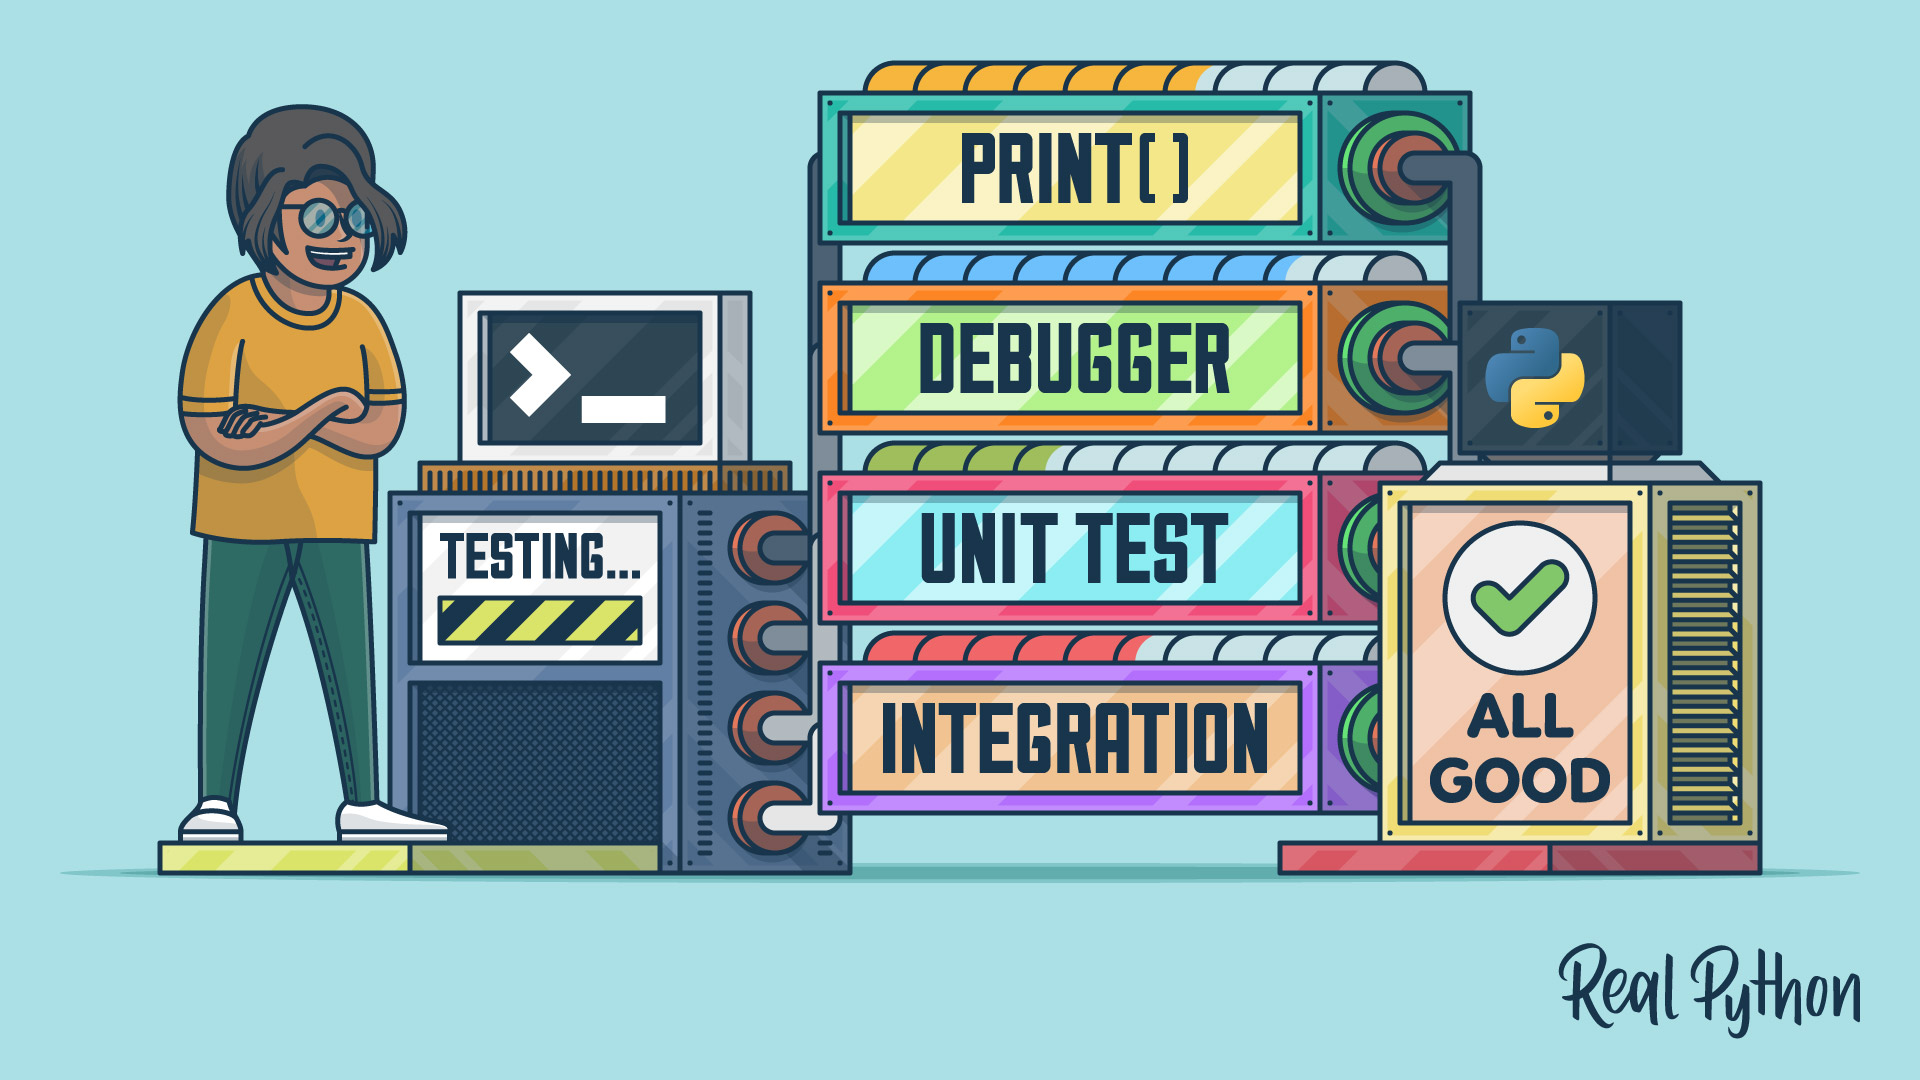
In this tutorial you’ll learn four hands-on techniques for testing Python command-line apps:
- “Lo-Fi” debugging with
print() - Using a visual Python debugger
- Unit testing with pytest and mocks
- Integration testing
Free Bonus: Click here to get our Python Testing Cheat Sheet that summarizes the techniques demonstrated in this tutorial.
Everything will be structured around a basic Python CLI app that passes data in the form of a multi-level dictionary to two functions that transform it in some way, then prints it to the user.
We will use the code below to examine a few of the different methods that will aid you in testing. And while certainly not exhaustive, I hope this tutorial will give you enough breadth to get you confident in creating effective tests in the major testing domains.
I’ve sprinkled in a few bugs in this initial code, which we will expose with our testing methods.
Note: For simplicity’s sake, this code does not include some basic best practices, such as verifying the existence of keys in a dictionary.
As a first step, let’s think about our objects at every stage of this application. We start with a structure that describes John Q. Public:
JOHN_DATA = {
    'name': 'John Q. Public',
    'street': '123 Main St.',
    'city': 'Anytown',
    'state': 'FL',
    'zip': 99999,
    'relationships': {
        'siblings': ['Michael R. Public', 'Suzy Q. Public'],
        'parents': ['John Q. Public Sr.', 'Mary S. Public'],
    }
}
We then flatten the other dictionaries, expecting this after calling our first transform function, initial_transform:
JOHN_DATA = {
    'name': 'John Q. Public',
    'street': '123 Main St.',
    'city': 'Anytown',
    'state': 'FL',
    'zip': 99999,
    'siblings': ['Michael R. Public', 'Suzy Q. Public'],
    'parents': ['John Q. Public Sr.', 'Mary S. Public'],
}
Then we build all the address information into a single address entry with the function final_transform:
JOHN_DATA = {
    'name': 'John Q. Public',
    'address': '123 Main St. \nAnytown, FL 99999'
    'siblings': ['Michael R. Public', 'Suzy Q. Public'],
    'parents': ['John Q. Public Sr.', 'Mary S. Public'],
}
And the call to print_person will write this to the console:
Hello, my name is John Q. Public, my siblings are Michael R. Public
and Suzy Q. Public, my parents are John Q. Public Sr. and Mary S. Public,
and my mailing address is:
123 Main St.
Anytown, FL 99999
testapp.py:
def initial_transform(data):
    """
    Flatten nested dicts
    """
    for item in list(data):
        if type(item) is dict:
            for key in item:
                data[key] = item[key]

    return data


def final_transform(transformed_data):
    """
    Transform address structures into a single structure
    """
    transformed_data['address'] = str.format(
        "{0}\n{1}, {2} {3}", transformed_data['street'],
        transformed_data['state'], transformed_data['city'],
        transformed_data['zip'])

    return transformed_data


def print_person(person_data):
    parents = "and".join(person_data['parents'])
    siblings = "and".join(person_data['siblings'])
    person_string = str.format(
        "Hello, my name is {0}, my siblings are {1}, "
        "my parents are {2}, and my mailing"
        "address is: \n{3}", person_data['name'],
        parents, siblings, person_data['address'])
    print(person_string)


john_data = {
    'name': 'John Q. Public',
    'street': '123 Main St.',
    'city': 'Anytown',
    'state': 'FL',
    'zip': 99999,
    'relationships': {
        'siblings': ['Michael R. Public', 'Suzy Q. Public'],
        'parents': ['John Q. Public Sr.', 'Mary S. Public'],
    }
}

suzy_data = {
    'name': 'Suzy Q. Public',
    'street': '456 Broadway',
    'apt': '333',
    'city': 'Miami',
    'state': 'FL',
    'zip': 33333,
    'relationships': {
        'siblings': ['John Q. Public', 'Michael R. Public',
                    'Thomas Z. Public'],
        'parents': ['John Q. Public Sr.', 'Mary S. Public'],
    }
}

inputs = [john_data, suzy_data]

for input_structure in inputs:
    initial_transformed = initial_transform(input_structure)
    final_transformed = final_transform(initial_transformed)
    print_person(final_transformed)
Right now, the code doesn’t actually meet those expectations, so we will investigate using the four techniques while we are learning about them. By doing this, you will get practical experience in using these techniques, expand your comfort zone to them, and begin to learn for which problems they are most suited.
“Lo-Fi” Debugging With Print
This is one of the simplest ways to test. All you have to do here is print a variable or object that you’re interested in–before a function call, after a function call, or within a function.
Respectively, these allow you to verify a function’s input, a function’s output, and a function’s logic.
If you save the code above as testapp.py and try to run it with python testapp.py you’ll see an error like so:
Traceback (most recent call last):
  File "testapp.py", line 60, in <module>
    print_person(final_transformed)
  File "testapp.py", line 23, in print_person
    parents = "and".join(person_data['parents'])
KeyError: 'parents'
There is a missing key in person_data that is passed into print_person. The first step would be to check the input to print_person and see why our expected output (a printed message) isn’t being generated. We will just add a print function call before the call to print_person:
final_transformed = final_transform(initial_transformed)
print(final_transformed)
print_person(final_transformed)
The print function does the job here, showing in its output that we don’t have the top-level parents key—nor the siblings key—but in the interest of our sanity, I’ll show you pprint, which prints multi-level objects in a more readable manner. To use it, add from pprint import pprint to the top of your script.
Instead of print(final_transformed), we call pprint(final_transformed) to inspect our object:
{'address': '123 Main St.\nFL, Anytown 99999',
 'city': 'Anytown',
 'name': 'John Q. Public',
 'relationships': {'parents': ['John Q. Public Sr.', 'Mary S. Public'],
                   'siblings': ['Michael R. Public', 'Suzy Q. Public']},
 'state': 'FL',
 'street': '123 Main St.',
 'zip': 99999}
Compare this with the expected final form above.
Because we know final_transform doesn’t touch the relationships dictionary, it’s time to see what is going on in initial_transform. Normally, I’d use a traditional debugger to step through this, but I want to show you another use of print debugging.
We can print the state of objects in code, but we aren’t limited to that. We can print whatever we want, so we can also print markers to see which logic branches are executed and when.
Because initial_transform is primarily a few loops, and because internal dictionaries are supposed to be handled by the inner for loop, we should check out what’s happening in there, if anything:
def initial_transform(data):
    """
    Flatten nested dicts
    """
    for item in list(data):
        if type(item) is dict:
            print "item is dict!"
            pprint(item)
            for key in item:
                data[key] = item[key]

    return data
If we come across a dictionary within our input data, then we will be alerted in the console and then we will see what the item looks like.
After running, our console output hasn’t changed. This is good evidence that our if statement isn’t working as expected. While we can continue printing to find the bug, this is a great way to demonstrate the strengths of using a debugger.
As an exercise, though, I recommend bug hunting this code using only print debugging. It’s good practice and will force you to think of all the ways to use the console to alert you about different things happening in the code.
Wrapup
When to use print debugging:
- Simple objects
- Shorter scripts
- Seemingly simple bugs
- Quick inspections
Dive deeper:
- pprint - prettify printed objects
Pros:
- Rapid testing
- Easy to use
Cons:
- Most cases you have to run the whole program, otherwise:
- You need to add extra code to manually control flow
- You can accidentally leave test code when done, especially in complex code
Using a Debugger
Debuggers are great for when you want to step through the code one line at a time and inspect the entire application state. They help when you know roughly where errors are happening but can’t figure out why, and they give you a nice top-down view of everything happening inside your application at once.
There are many debuggers out there, and often they come with IDEs. Python also has a module called pdb that can be used in the REPL to debug code. Rather than get into implementation-specific details of all available debuggers, in this section I’ll show you how to use debuggers with common functions, such as setting breakpoints and watches.
Breakpoints are markers on your code that tell your debugger where to pause execution for you to inspect your application state. Watches are expressions that you can add during a debugging session to watch the value of a variable (and more) and are persisted through your app’s execution.
But let’s jump back to breakpoints. These will be added where you want to start or continue a debugging session. Since we are debugging the initial_transform method, we will want to put one there. I will denote the breakpoint with a (*):
def initial_transform(data):
    """
    Flatten nested dicts
    """
(*) for item in list(data):
        if type(item) is dict:
            for key in item:
                data[key] = item[key]

    return data
Now when we start debugging, execution will pause on that line and you’ll be able to see variables and their types at that particular point in the program’s execution. We have a few options to navigate our code: step over, step in, and step out are the most common.
Step over is the one you’ll use most often–this simply jumps to the next line of code.
Step in, attempts to go deeper into the code. You’ll use this when you come across a function call you want to investigate more deeply–you’ll be taken directly to that function’s code and be able to examine state there. You also use it often when confusing it for step over. Luckily step out can rescue us, this brings us back out to the caller.
We can also set a watch here, something like type(item) is dict, which you can do in most IDEs via an ‘add watch’ button during a debugging session. This will now show True or False no matter where you are in the code.
Set the watch, and now step over so that you are now paused on the if type(item) is dict: line. You should now be able to see the status of the watch, the new variable item, and the object data.

Even without the watch, we can see the issue: rather than type looking at what item points to, it’s looking at the type of item itself, which is a string. Computers do exactly what we tell them, after all. Thanks to the debugger, we see the error of our ways and fix our code like so:
def initial_transform(data):
    """
    Flatten nested dicts
    """
    for item in list(data):
        if type(data[item]) is dict:
            for key in data[item]:
                data[key] = item[key]

    return data
We should run it through the debugger again, and just make sure the code is going where we expect it to. And we are not, the structure now looks like this:
john_data = {
    'name': 'John Q. Public',
    'street': '123 Main St.',
    'city': 'Anytown',
    'state': 'FL',
    'zip': 99999,
    'relationships': {
        'siblings': ['Michael R. Public', 'Suzy Q. Public'],
        'parents': ['John Q. Public Sr.', 'Mary S. Public'],
    },
    'siblings',
    'parents',
}
Now that we’ve looked at how a visual debugger is used, let’s go deeper and put our new knowledge to the test by completing the exercise below.
I want you to fix the code so that the output of initial_transform looks more like this, using only the debugger:
john_data = {
    'name': 'John Q. Public',
    'street': '123 Main St.',
    'city': 'Anytown',
    'state': 'FL',
    'zip': 99999,
    'relationships': {
        'siblings': ['Michael R. Public', 'Suzy Q. Public'],
        'parents': ['John Q. Public Sr.', 'Mary S. Public'],
    },
    'parents': ['John Q. Public Sr.', 'Mary S. Public'],
    'siblings': ['Michael R. Public', 'Suzy Q. Public'],
}
def initial_transform(data):
    """
    Flatten nested dicts
    """
    for item in list(data):
        if type(data[item]) is dict:
            for key in data[item]:
                data[key] = data[item][key]

    return data
We’ve talked about the visual debugger. We’ve used the visual debugger. We love the visual debugger. There are still pros and cons to this technique, though, and you can review them in the section below.
Wrapup
When to use a Python debugger:
- More complex projects
- Difficult to detect bugs
- You need to inspect more than one object
- You have a rough idea of where an error is occurring, but need to zero in on it
Dive deeper:
- Conditional breakpoints
- Evaluating expressions while debugging
Pros:
- Control over flow of program
- Bird’s-eye view of application state
- No need to know exactly where the bug is occurring
Cons:
- Difficult to manually watch very large objects
- Long-running code will take very long to debug
Unit Testing with Pytest and Mocks
The previous techniques are tedious and can require code changes if you want to exhaustively test input-output combinations, ensuring you hit every branch of your code–especially as your app grows. In our example, the output of initial_transform still doesn’t look quite right.
While the logic in our code is fairly simple, it can easily grow in size and complexity, or become the responsibility of a whole team. How do we test an application in a more structured, detailed, and automated way?
Enter unit tests.
Unit testing is a testing technique that breaks down source code into recognizable units (usually methods or functions) and tests them individually.
You will essentially be writing a script or group of scripts that test each method with different inputs to ensure every logic branch within each method is tested–this is referred to as code coverage, and usually you want to aim for 100% code coverage. This isn’t always necessary or practical, but we can save that for another article (or a textbook).
Each test treats the method being tested in isolation: outside calls are overridden with a technique called mocking to give reliable return values and any object set up before the test is removed after the test. These techniques and others are done to assure the independence and isolation of the unit under test.
Repeatability and isolation are key to these kinds of tests, even though we are still continuing with our theme of comparing expected outputs to actual outputs. Now that you have an understanding of unit testing overall, you can take a quick detour and see how to unit test Flask applications with the minimum viable test suite.
Pytest
So now that we’ve gone probably a bit too deep into the theory, let’s look at how this works in practice. Python comes with a built-in unittest module, but I believe pytest does a great job of building on what unittest provides. Either way, I’ll just be showing the basics of unit testing as unit testing alone can take up multiple long articles.
A common convention is to put all your tests in a test directory within your project. Because this is a small script, a file test_testapp.py at the same level as testapp.py is sufficient.
We will write a unit test for initial_transform to show how to set up a set of expected inputs and outputs and make sure they match up. The basic pattern I use with pytest is to set up a fixture that will take some parameters and use those to generate the test inputs and expected outputs that I want.
First I’ll show the fixture setup, and while you’re looking at the code, think about the test cases that you will need in order to hit all possible branches of initial_transform:
import pytest
import testapp as app

@pytest.fixture(params=['nodict', 'dict'])
def generate_initial_transform_parameters(request):
Before we generate inputs, let’s look at what’s going on here, because it can get confusing.
First, we use the @pytest.fixture decorator to declare the following function definition a fixture. We also use a named parameter params to use with generate_initial_transform_parameters.
The neat feature with this is that whenever the decorated function is used, it’ll be used with every parameter, so just calling generate_initial_transform_parameters will call it twice, once with nodict as a parameter and once with dict.
To access these parameters, we add the pytest special object request to our function signature.
Now let’s build our inputs and expected outputs:
@pytest.fixture(params=['nodict', 'dict'])
def generate_initial_transform_parameters(request):
    test_input = {
        'name': 'John Q. Public',
        'street': '123 Main St.',
        'city': 'Anytown',
        'state': 'FL',
        'zip': 99999,
    }
    expected_output = {
        'name': 'John Q. Public',
        'street': '123 Main St.',
        'city': 'Anytown',
        'state': 'FL',
        'zip': 99999,
    }

    if request.param == 'dict':
        test_input['relastionships'] = {
            'siblings': ['Michael R. Public', 'Suzy Q. Public'],
            'parents': ['John Q. Public Sr.', 'Mary S. Public'],
        }
        expected_output['siblings'] = ['Michael R. Public', 'Suzy Q. Public']
        expected_output['parents'] = ['John Q. Public Sr.', 'Mary S. Public']

    return test_input, expected_output
Nothing too surprising here, we set up the input and expected output, and if we have the 'dict' parameter, then we modify the input and expected ouput, allowing us to test the if block.
Then we write the test. In the test, we have to pass the fixture to the test function as a parameter to have access to it:
def test_initial_transform(generate_initial_transform_parameters):
    test_input = generate_initial_transform_parameters[0]
    expected_output = generate_initial_transform_parameters[1]
    assert app.initial_transform(test_input) == expected_output
Test functions should be prepended with test_ and should be based on assert statements. Here we are asserting that the output we get from passing our input to our real function is equal to our expected output. When you run this either in your IDE with a test configuration or with pytest in the CLI you’ll get…errors! Our output isn’t quite right yet. Let’s fix it using the following exercise–the practical experience is invaluable, and putting what you read into practice will make it easier to recall in the future.
I want you to use the unit tests to help you fix the function so it comes out as we expect it. Use only the unit test output to make these changes, and don’t change the unit test.
def initial_transform(data):
    """
    Flatten nested dicts
    """
    for item in list(data):
        if type(data[item]) is dict:
            for key in data[item]:
                data[key] = data[item][key]
            data.pop(item)

    return data
Mocks
Mocks are another important part of unit testing. Because we are only testing a single unit of code, we don’t really care about what other function calls do. We just want to have a reliable return from them.
Let’s add an outside function call to initial_transform:
def initial_transform(data):
    """
    Flatten nested dicts
    """
    for item in list(data):
        if type(data[item]) is dict:
            for key in data[item]:
                data[key] = data[item][key]
            data.pop(item)

    outside_module.do_something()
    return data
We don’t want to make live calls to do_something() so instead we’ll make a mock in our test script. The mock will catch this call and return whatever you set the mock to return. I like setting up the mocks in fixtures, since it’s a part of test setup and we can keep all that setup code together:
@pytest.fixture(params=['nodict', 'dict'])
def generate_initial_transform_parameters(request, mocker):
    [...]
    mocker.patch.object(outside_module, 'do_something')
    mocker.do_something.return_value(1)
    [...]
Now every time you call initial_transform, the do_something call will be intercepted and return 1. You can also take advantage of fixture parameters to determine what your mock returns–this is important when a code branch is determined by the result of the outside call.
One last neat trick is to use side_effect. Among other things, this allows you to mock different returns for successive calls to the same function:
def initial_transform(data):
    """
    Flatten nested dicts
    """
    for item in list(data):
        if type(data[item]) is dict:
            for key in data[item]:
                data[key] = data[item][key]
            data.pop(item)

    outside_module.do_something()
    outside_module.do_something()
    return data
We’d set up our mock like so, with a list of outputs (for each successive call) passed to side_effect:
@pytest.fixture(params=['nodict', 'dict'])
def generate_initial_transform_parameters(request, mocker):
    [...]
    mocker.patch.object(outside_module, 'do_something')
    mocker.do_something.side_effect([1, 2])
    [...]
Mocking is very powerful, so powerful that you can even set up mock servers to test third-party APIs and I again encourage you to do a deeper dive on your own into mocking with mocker.
Wrapup
When to use Python unit testing frameworks:
- Large, complex projects
- OSS projects
Helpful tools:
- Pytest fixtures
- deepdiff for comparing complex objects
- Mocker
Pros:
- Automates running tests
- Can catch many types of bugs
- Simple setup and modification for teams
Cons:
- Tedious to write
- Has to be updated with most code changes
- Won’t replicate true application running
Integration Testing
Integration testing is one of the simpler testing methods here, but arguably one of the most important. This entails actually running your app end-to-end with real data in a production-like environment.
Whether this is your home machine, a test server that duplicates a production server, or just changing a connection to a test database from a production one, this lets you know that your changes will work when deployed.
Like in all the other methods, you’re checking that your application generates the expected outputs given some inputs–except this time you’re using actual external modules (unlike in unit testing, where they are mocked), perhaps writing to actual databases or files, and, in larger applications, ensuring that your code integrates well with the overall system.
How you do this is highly dependent on your application, for example, our test app can be run on its own with python testapp.py. However, let’s pretend our code is a segment of a large distributed application, like an ETL pipeline–in that case you would have to run the entire system on test servers with your code swapped in, run data through it, and make sure it made it through the whole system in the correct form. Outside of the command-line application world, tools like pyVows can be used for integration testing Django apps.
This is an open-ended exercise. I’ve left a few bugs in the code, run the code a few times and compare your outputs to our expected outputs in the beginning of this tutorial. Use this method and the others you’ve learned to find and fix any remaining bugs.
Wrapup
When to use integration testing in Python:
- Always ;-)
- Generally after other test methods, if they’re employed.
Helpful tools:
- tox environment and test automation management
Pros:
- See how your application runs in real-world conditions
Cons:
- Larger applications can be difficult to accurately track data flow through
- Have to have test environments that are very close to production environments
Putting It All Together
In conclusion—all CLI testing is a matter of comparing your expected outputs to your actual outputs, given some set of inputs. The methods I’ve discussed above are all ways of doing just that, and in many ways are complementary. These will be important tools for you to understand as you continue building command-line applications in Python, but this tutorial is just a starting point.
Python has a very rich ecosystem, and that extends to testing tools and methodologies, so branch out from this and investigate more–you may find a tool or technique that I didn’t mention here that you absolutely love. If so, I’d love to hear about it in the comments!
As a quick recap, here are the techniques we learned about today and how they’re employed:
- Print debugging - print out variables and other markers in code to see how execution flows
- Debuggers - controlling program execution to get a bird’s-eye view of application state and program flow
- Unit testing - breaking an application into individually testable units and testing all logic branches within that unit
- Integration testing - Testing your code changes in the context of the wider application
Now go forth and test! As you work with these techniques, be sure to let me know in the comments how you’ve employed them and which are your favorites.
To get a Python testing cheat sheet that summarizes the techniques demonstrated in this tutorial, click the link below:
Free Bonus: Click here to get our Python Testing Cheat Sheet that summarizes the techniques demonstrated in this tutorial.