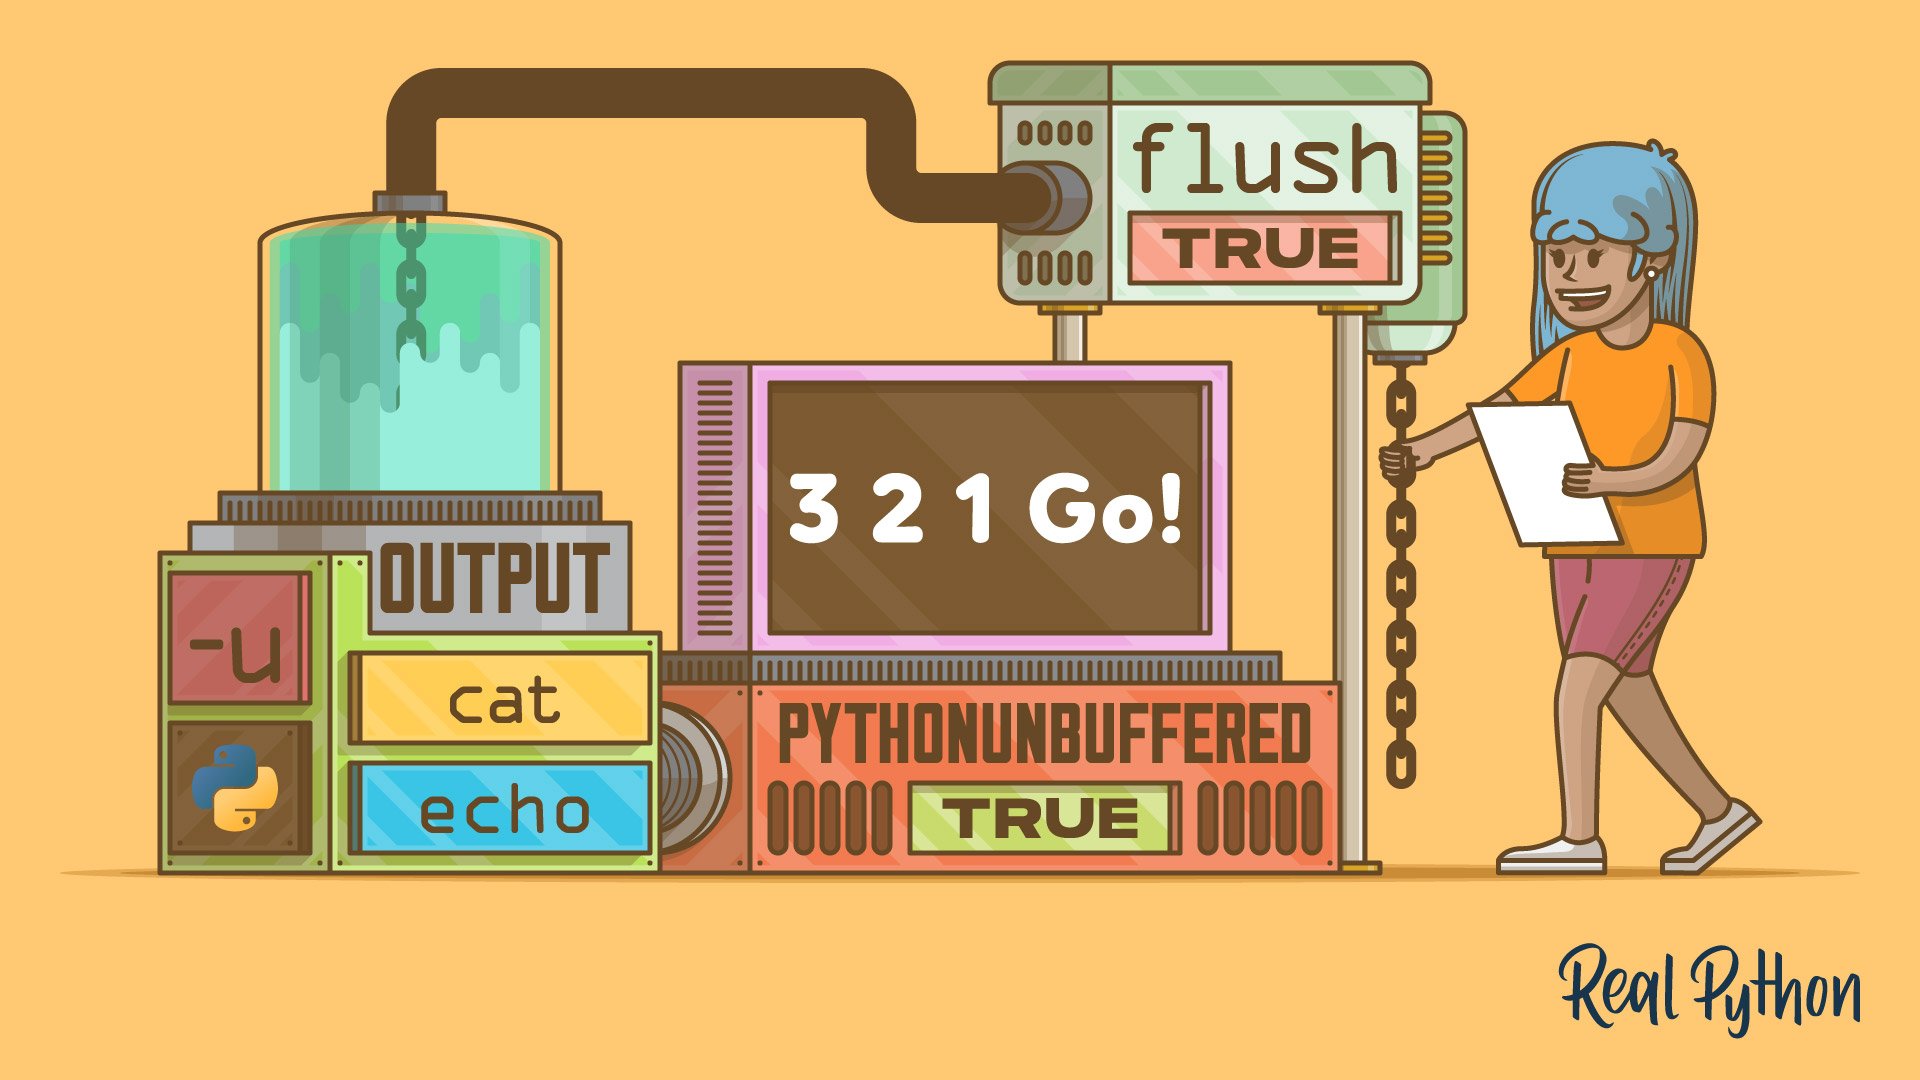
Do you want to build a compact visual progress indicator for your Python script using print(), but your output doesn’t show up when you’d expect it to? Or are you piping the logs of your script to another application, but you can’t manage to access them in real time? In both cases, data buffering is the culprit, and you can solve your troubles by flushing the output of print().
In this tutorial, you’ll learn how to:
- Flush the output data buffer explicitly using the
flushparameter ofprint() - Change data buffering for a single function, the whole script, and even your entire Python environment
- Determine when you need to flush the data buffer explicitly and when that isn’t necessary
By repeatedly running a short code snippet that you change only slightly, you’ll see that if you run print() with its default arguments, then its execution is line-buffered in interactive mode, and block-buffered otherwise.
You’ll get a feel for what all of that means by exploring the code practically. But before you dive into changing output stream buffering in Python, it’s helpful to revisit how it happens by default, and understand why you might want to change it.
Free Sample Code: Click here to download the free sample code that you’ll use to dive deep into flushing the output of the Python print function.
Understand How Python Buffers Output
When you make a write call to a file-like object, Python buffers the call by default—and that’s a good idea! Disk write and read operations are slow in comparison to random-access memory (RAM) access. When your script makes fewer system calls for write operations by batching characters in a RAM data buffer and writing them all at once to disk with a single system call, then you can save a lot of time.
To put the use case for buffering into a real-world context, think of traffic lights as buffers for car traffic. If every car crossed an intersection immediately upon arrival, it would end in gridlock. That’s why the traffic lights buffer traffic from one direction while the other direction flushes.
Note: Data buffers are generally size-based, not time-based, which is where the traffic analogy breaks down. In the context of a data buffer, the traffic lights would switch if a certain number of cars were queued up and waiting.
However, there are situations when you don’t want to wait for a data buffer to fill up before it flushes. Imagine that there’s an ambulance that needs to get past the crossroads as quickly as possible. You don’t want it to wait at the traffic lights until there’s a certain number of cars queued up.
In your program, you usually want to flush the data buffer right away when you need real-time feedback on code that has executed. Here are a couple of use cases for immediate flushing:
-
Instant feedback: In an interactive environment, such as a Python REPL or a situation where your Python script writes to a terminal
-
File monitoring: In a situation where you’re writing to a file-like object, and the output of the write operation gets read by another program while your script is still executing—for example, when you’re monitoring a log file
In both cases, you need to read the generated output as soon as it generates, and not only when enough output has assembled to flush the data buffer.
There are many situations where buffering is helpful, and there are some situations where too much buffering can be a disadvantage. Therefore, there are different types of data buffering that you can implement where they fit best:
-
Unbuffered means that there’s no data buffer. Every byte creates a new system call and gets written independently.
-
Line-buffered means that there’s a data buffer that collects information in memory, and once it encounters a newline character (
\n), the data buffer flushes and writes the whole line in one system call. -
Fully-buffered (block-buffered) means that there’s a data buffer of a specific size, which collects all the information that you want to write. Once it’s full, it flushes and sends all its contents onward in a single system call.
Python uses block buffering as a default when writing to file-like objects. However, it executes line-buffered if you’re writing to an interactive environment.
To better understand what that means, write a Python script that simulates a countdown:
# countdown.py

from time import sleep

for second in range(3, 0, -1):
    print(second)
    sleep(1)
print("Go!")
By default, each number shows up right when print() is called in the script. But as you develop and tweak your countdown timer, you might run into a situation where all your output gets buffered. Buffering the whole countdown and printing it all at once when the script finishes would lead to a lot of confusion for the athletes waiting at the start line!
So how can you make sure that you won’t run into data buffering issues as you develop your Python script?
Add a Newline for Python to Flush Print Output
If you’re running a code snippet in a Python REPL or executing it as a script directly with your Python interpreter, then you won’t run into any issues with the script shown above.
In an interactive environment, the standard output stream is line-buffered. This is the output stream that print() writes to by default. You’re working with an interactive environment any time that your output will display in a terminal. In this case, the data buffer flushes automatically when it encounters a newline character ("\n"):
When interactive, the stdout stream is line-buffered. (Source)
If you write your countdown script using print() with its default arguments, then the end of each call to print() writes a newline character implicitly:
# countdown.py

from time import sleep

for second in range(3, 0, -1):
    print(second)
    sleep(1)
print("Go!")
If you run this script from your terminal using the Python interpreter, then you’ll get the output that you were hoping for. The numbers appear one after another and count down starting from 3:
Each call to print() sends first the number and then a newline character to the buffer. Because you’re writing to the terminal, which represents an interactive environment, print() executes line-buffered. Therefore, it flushes the data buffer at the end of each call, and each number gets sent to the terminal with its own system call.
If you want newlines in your output, then it’s probably best to not pass any argument to end. In that case, print() will use the default value of "\n" for end. But the newline character doesn’t need to appear at the end of the line to trigger flushing. You could instead add a newline character to your print() call in other places:
In both of the code snippets below, you change the default value for end to an empty string ("") in order to remove the newline that print() otherwise adds there by default. Then you’re adding newlines explicitly in different places to confirm that the data buffer still flushes if you run the code in an interactive environment.
For example, you could add the newline to the strings that you’re printing:
# countdown.py

from time import sleep

for second in range(3, 0, -1):
    print(f"{second}\n", end="")
    sleep(1)
print("Go!")
In this example, you changed the value for end to an empty string ("") and added a newline character to the positional argument, which you converted to an f-string.
If you’re passing more than one positional argument to print(), then you could add a newline as the separator using sep. For example, you might want to add the letter "s", for second, to the numbers:
# countdown.py

from time import sleep

for second in range(3, 0, -1):
    print(second, "s", sep="\n", end="")
    sleep(1)
print("Go!")
In this example, you changed the value for end to an empty string ("") and added the string "s" as a second positional argument to print(). With sep="\n", you specified separating the two arguments with a newline character.
If you run this code snippet, then you’ll notice that the output isn’t intuitive:
Your newline character is separating the two arguments that are meant to be together, which makes the example somewhat contrived. Using "\n" as a separator when writing to standard output might not have too many great real-world use cases.
Any way you add newline characters to print() will trigger the line buffering and flush the data buffer as long as you’re writing to an interactive environment.
But what if you don’t want to use newlines? What if you want your countdown to be more compact and print all the numbers on a single line?
In the next section, you’ll explore how you may run into an unexpected data buffering issue if you refactor your code for that reason. You’ll also learn how you can resolve the issue.
Set the flush Parameter if You’ve Disabled Newlines
You might want to print your countdown on a single line. You know that print() has an end parameter. You want to use it to put all the numbers on one line by changing the value of end from the default newline character to a space (" "):
# countdown.py

from time import sleep

for second in range(3, 0, -1):
    print(second, end=" ")
    sleep(1)
print("Go!")
After this seemingly innocuous change, your countdown script is suddenly broken. It doesn’t print the numbers as a countdown anymore. Instead, they all appear at the same time:
Whoops, that isn’t what you expected! You did want the numbers to print on a single line, but now they don’t print one after another anymore. They all show up at the same time when your script finishes execution.
The reason for this unexpected behavior is block buffering. The output stream that print() writes to is still your terminal, which represents an interactive environment. So technically, the output stream is still line-buffered, just like before. However, because you changed the value for end, you’re not writing any newline characters anymore—so line buffering never gets triggered.
As a result, the data buffer flushes only when it either reaches its maximum threshold size, or when the script finishes execution. In your case, you never fill up the buffer, so the system call to display the content of the data buffer gets sent after your script finishes execution.
If you want to change that behavior, then the quickest way is to set flush=True to force each call to print() to flush the buffer:
# countdown.py

from time import sleep

for second in range(3, 0, -1):
    print(second, end=" ", flush=True)
    sleep(1)
print("Go!")
You’ve changed the value for flush from the default False to True. This change forcibly flushes the output stream, independent of what default data buffering the file stream that you’re writing to has:
Great! Your countdown again works as intended, and now you’re printing it more compactly onto a single line. With this change, you’re ready to step up your game with Python’s print() and use it to build cool animations, such as a progress bar for a running script.
Note: Remember that changing flush to True when printing output to a terminal only has an effect if you don’t use the default value for end. If you kept the default value for end, which is the newline character, then the data buffer would already flush automatically after each call to print(), even without the explicit flush=True.
If you remove explicit and implicit newline characters from your print() calls, then you need to also set flush=True if you want your output to display in real time. If you keep flush at its default value of False, then Python will buffer your output, and it’ll only show up once the data buffer is full, or when your program finishes execution.
Flush the Data Buffer Explicitly When Monitoring Running Scripts
You’ve read a lot about running Python in an interactive environment. Even the documentation of sys.stdout, the default output stream of print(), mentions this without going into further detail:
When interactive, the stdout stream is line-buffered. Otherwise, it is block-buffered like regular text files. (Source)
If you’re primarily working in interactive environments, then it may be harder to see where block buffering applies by default and could, therefore, be an issue.
Note: Most of the time, you’ll want Python to buffer the output stream, because that decreases the number of system calls and improves performance. But there are situations when block buffering will work to your disadvantage.
Imagine that you have a long-running Python script that writes logging output to a log file. Such a file object doesn’t represent an interactive environment, so write calls to it will be block-buffered.
If you only use the log file as historic storage that you might access at some point in the future, then Python’s default data buffering is perfectly fine. However, if you’re monitoring the log as it gets written, then you won’t see the output right when it occurs. This can be an issue for a monitoring script that needs to respond right away, for example, when the task encounters an error.
Take another look at the initial version of your countdown script, where you didn’t change any of the default parameters of print():
# countdown.py

from time import sleep

for second in range(3, 0, -1):
    print(second)
    sleep(1)
print("Go!")
In this version of the script, each number prints on a separate line. When you ran this script to display the output in your terminal, it was line-buffered and printed the numbers right when the print() calls occurred in your script.
Now, instead of letting Python directly print the output to your terminal, you’ll pipe standard output to cat if you’re on a UNIX system like Linux or macOS, or echo if you’re using Windows PowerShell.
Note: Both cat and echo are UNIX utility programs. Windows PowerShell uses these names as aliases for commands that have a similar use case:
catis an alias forGet-Content.echois an alias forWrite-Output.
However, the Windows PowerShell commands work differently than the UNIX utility programs that the alias naming refers to. Using cat as described below doesn’t work on Windows PowerShell, but using echo works.
These command-line utility programs will serve as your stand-in example for any monitoring script that would read the output of countdown.py. Go ahead and try out the correct command for your operating system:
In this case, standard output doesn’t point to a terminal and therefore isn’t considered an interactive environment. Python’s buffering of data sent by print() falls back to the default block buffering.
Because of that, your countdown isn’t available to cat when the numbers occur in the script, but instead only once the data buffer flushes at the end of the Python script execution:
Even though you kept the default newlines at the end of each print() call, Python didn’t flush the buffer! All of your output appeared at once after the script finished execution. Only then did Python flush the buffered output, which then made it available to the next program in your pipe, in this case cat. Only then was cat able to display the output back to you.
Of course, if you want to monitor the output of countdown.py as it’s happening, then you can’t work with this! Fortunately, the solution is yet again to set flush=True, thereby forcing each call to print() to flush the data buffer and send the output onward:
# countdown.py

from time import sleep

for second in range(3, 0, -1):
    print(second, flush=True)
    sleep(1)
print("Go!")
With this change, you’re explicitly flushing the standard output data buffer any time you’re calling print() inside the for loop. The numbers now become available to the next program in your pipe right when the data buffer flushes, which happens multiple times during execution:
You’re now able to set up an automated monitoring script for your long-running Python task that’ll have real-time access to the output your script sends to the output stream. But what if you’ve taken over the task of monitoring a script that contains thousands of print() calls? Will you have to change every single occurrence of the print() function?
You could do that, and it wouldn’t be a bad approach. Setting the flush parameter to True is probably the most explicit way to indicate that you want to flush the data buffer. However, if you just need to make the change to test something, there are quicker ways than that.
Change the PYTHONUNBUFFERED Environment Variable
If you don’t want to change any of your code, but you need to execute a script without the data buffer, then there’s a quick command option that you can use.
Again consider an earlier version of your countdown code example where you didn’t explicitly flush the data buffer in the Python print() function:
# countdown.py

from time import sleep

for second in range(3, 0, -1):
    print(second)
    sleep(1)
print("Go!")
Just like before, you need to pipe the output of this script to a monitoring script. You’ll use cat or echo as a stand-in for the monitoring script once again, depending on your operating system.
To run countdown.py unbuffered without applying any changes to the source code, you can execute Python with the -u command option before piping its output to cat or echo:
The -u command option disables the data buffer for both output streams, standard output (stdout) and standard error (stderr). Because of that, you can observe that the numbers are passed on to cat one at a time, right after they occur in the script:
This approach doesn’t require any changes in the code, yet print() writes to standard output unbuffered, even though you’re piping the output to a different program.
The -u command option changes the PYTHONUNBUFFERED environment variable for your current script execution and therefore runs your script unbuffered.
As an alternative to using the -u command option, you can change the PYTHONUNBUFFERED environment variable explicitly to a non-empty string in your current environment. An empty string is the default, so if the variable has any other value, then Python executes unbuffered for all script runs in your current environment.
Note: Changing the PYTHONUNBUFFERED environment variable either explicitly or through the -u command option means that both output streams, standard output and standard error, will be unbuffered. So this might not be the right approach if you want different behavior on the two output streams.
You need to change the value of PYTHONUNBUFFERED in your environment before running your script for this change to have an effect:
With this command, you set the PYTHONUNBUFFERED environment variable to a non-empty string, which causes all runs of Python scripts in your current environment to run unbuffered. To reverse this change, run the command again, but set the variable to an empty string instead.
Use functools.partial to Change the Signature of Print
Finally, you’ll explore another situation that you might encounter at work. Imagine that your team has introduced you to a large codebase, and you’re tasked with setting up automated monitoring on an existing log file.
The script you’re tasked with monitoring uses print() to send logging information to an output stream. However, the real-time monitoring won’t work in its current form because the output gets buffered. There are a lot of calls to print() in this long script. You can make edits in the codebase, but you want to touch as little of the original script as possible.
To quickly change the default value for flush, you can change the function signature of print() in the context of the script that you want to monitor:
# script_to_monitor.py

import functools

print = functools.partial(print, flush=True)

# ...
By adding these two lines of code at the top of the script, you changed the function signature of the built-in print() to set flush to True. You did that using functools.partial and by overriding print() with the changed signature. All subsequent calls to print() in this script will use the changed version of the function and flush the data buffer even when the output stream isn’t a terminal.
If you’re writing your own script, then it’s probably better to be explicit about when the output stream should be unbuffered. You could do that by either:
- Adding
flush=Trueto allprint()calls where you want to flush the buffer - Defining a new function that you use for unbuffered writes to standard output, instead of overriding the built-in
print()
You could tackle the first approach during development by remaining conscious of which logging print() calls you’ll need to run unbuffered. You’ve experimented with that when developing the countdown script further up.
If you wanted to apply the second approach to the countdown example code, then you could define a new function using print() as a partial and call it unbuffered_print(). Then you could use it instead of the built-in print() where you want unbuffered output:
# countdown.py

import functools
from time import sleep

unbuffered_print = functools.partial(print, flush=True)

for second in range(3, 0, -1):
    unbuffered_print(second)
    sleep(1)
print("Go!")
With this approach, you can continue to use both unbuffered and buffered print() calls. You also define up front that you’ll use unbuffered writes to standard output. You even give the function a descriptive name, which might make it quicker for other developers to grasp what you’re doing than if you’d added the flush=True parameter.
Conclusion
Congratulations! You made it to the end of this tutorial and learned a lot about output stream buffering in Python, and how you can change the default behavior of print() in that regard.
In this tutorial, you’ve learned how to:
- Flush the output data buffer explicitly using the
flushparameter ofprint() - Change data buffering for a single function, the whole script, and even your whole Python environment
- Determine when you need to flush the data buffer explicitly and when that isn’t necessary
By repeatedly running a short code snippet that you changed only slightly, you saw that print() executes line-buffered in interactive mode, and block-buffered otherwise. You also learned when you might want to change that default behavior, and how you can go about doing that.
Did you use this knowledge about flushing Python’s print() to build an animation for your terminal? Did it help you set up a real-time monitoring script? Or do you have another use case that wasn’t covered in this tutorial? Share your experience in the comments below!
Free Sample Code: Click here to download the free sample code that you’ll use to dive deep into flushing the output of the Python print function.